Intel provides computer drivers that allow you to watch your favorite movie or play your favorite game without any issues. It also keeps your computer in the top-notch condition and gets rid of common problems like screen freezing, sound issues, or generally slow performance. So, that is why you need to update Intel drivers regularly for an optimum PC experience. Here, we have compiled a list of three very easy step-by-step methods on how to update your Intel Drivers in Windows 10. So, without further ado, let’s check them out.
- Way 1: Update Intel Drivers in Device Manager
- Way 2: Update Intel Drivers from Intel Official Website
- Way 3: Update Intel Drivers Using Third-part Software
Way 1: Update Intel Drivers in Device Manager
To update your Intel Drivers with Device Manager in Windows 10, simply follow these steps:
1. Click on the Start menu at the left bottom of your computer screen.
2. Search Device Manager in the search bar.
3. Click the tool on the top of the list to open it.
4. The Device Manager will display a list of device drivers installed on your PC. From here, double-click on the device type you want to update.
5. From the expanded menu, right-click on the device you want to update and click Update Drivers.
6. The Device Managers will ask you how you want to search for your drivers. Select Search Automatically for Updated Device Software.
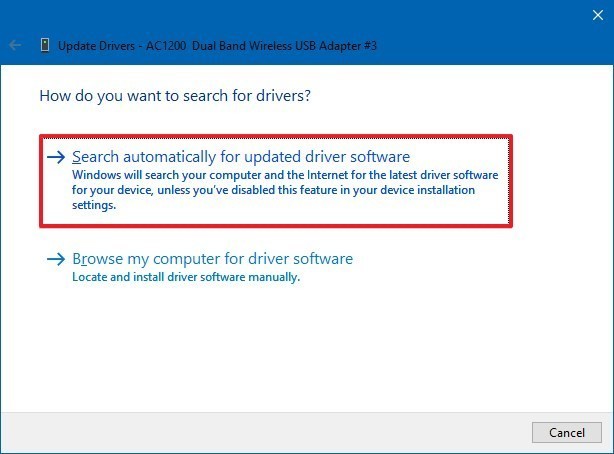
7. Your Device Manager will automatically download and install the latest update.
In some cases, your Device Manager will not be able to detect any new update for your Intel Driver. This can happen if the update is too recent or only available in the Beta version. If this happens, you’ll need to:
Note: Updating to the Beta version for your driver could cause unknown problems.
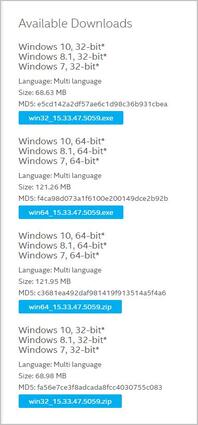
1. Visit downloadcenter.intel.com and download the (.zip) file for that particular driver. Make sure to download the correct version of the drivers that are compatible with your version of Windows (In this case, Windows 10). Extract the content of the file in the designated folder.
2. Now, follow the above methods up to step 4.
3. When the Device Manager asks you how to search for drivers, select Browse my computer for “Driver Software.
4. Browse for the folder where you extracted the driver’s file. Select it and click OK.
5. Check the “Include Sub-folder” option so the Wizard can detect all of the files in your folder.
6. Now, click the Next button to install your drivers.
After that, the Device Manager will automatically detect and update the Intel driver in Windows 10.
Way 2: Update Intel Drivers from Intel Official Website
There are 2 ways to update your Intel Drivers from the Intel Official Website. The first method is:
1. Go to downloadcenter.intel.com and download the (exe.) file of your Intel Drivers.
Note: Before downloading, check your system requirements for the correct version because installing the wrong one can create problems for your computer.
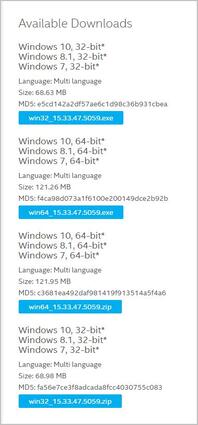
2. After downloading the (.exe) file, double-click on it to start the installation process.
3. Follow the on-screen instruction.
4. Your computer will update the driver.
5. After that, restart your computer.
6. This will allow the changes to take place.
Intel has also launched a Driver and Support Assistance program that helps you to update your Intel Drivers correctly. To update your drivers with the “Driver and Support Assistance” program, follow these easy steps:
1. Go to https://downloadcenter.intel.com/download/28425/Intel-Driver-Support-Assistant and download the (exe.) file for your version of Windows.
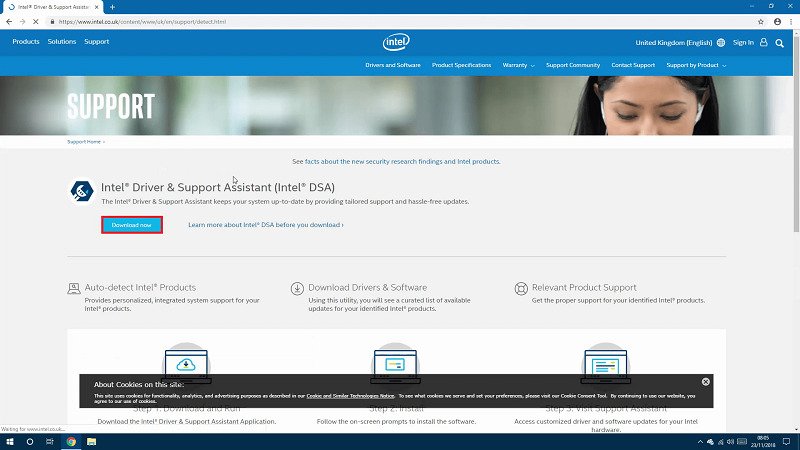
2. Once the download is complete, double click on it to begin the installation process.
3. Follow the on-screen instruction and install the program.
4. After that, launch the program. It will ask you to select your desired browser.
5. The program will begin to scan your computer and give a list of available updates.
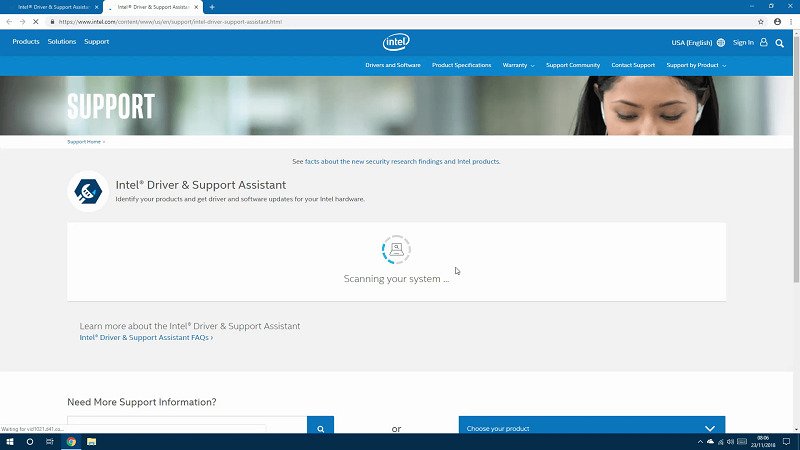
6. Download the drivers.
7. Click on “Install the update” and follow the on-screen instructions to do so.
8. After the installation is complete, it will ask you to restart your computer.
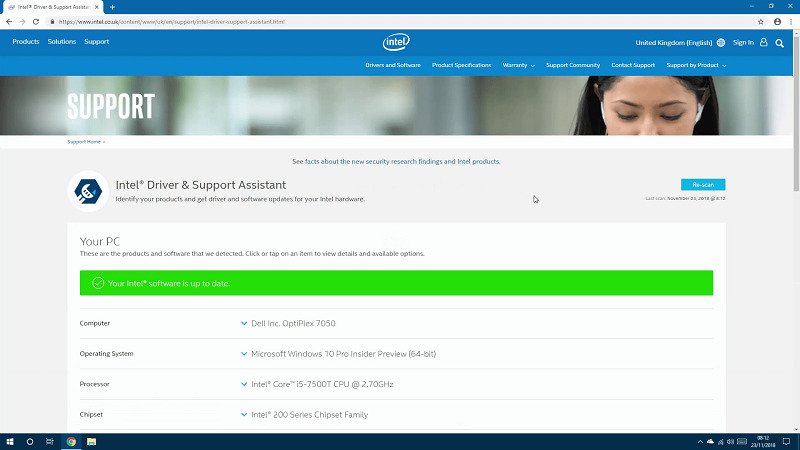
9. Once the restart is complete, you can visit the “Intel Driver and Support Assistance.” After scanning, it will show that your system is up-to-date.
Different methods will work for different situations. If the above two methods didn’t work for you, it’s time to move towards our next solution.
Way 3: Update Intel Drivers Using Third-part Software
For all those non-tech people out there, this is the MOST easiest way for you to update your Intel drivers in Windows 10. Playing around manually with the device drivers is not always the most confident thing to do. If this is the case, you can easily update your Intel Drivers with the help of a Third-party Software. Driver Easy is a driver utility tool that automatically recognizes your system and finds the correct drivers for it. With this software, you won’t have to worry about downloading the wrong driver or making a mistake while installing it. So, to update your Intel Drivers with Driver Easy in Windows 10, simply follow these easy steps:
1. Download Driver Easy from its official website and install it on your PC.
2. After that, launch the program.
3. From the main interface, click on Scan Now. Driver Easy will begin scanning your computer to look for problem drivers.
4. After scanning, Driver Easy will give you a list of all the drivers that need updating.
5. Now, select the Update button next to the flagged Intel Graphic drivers.
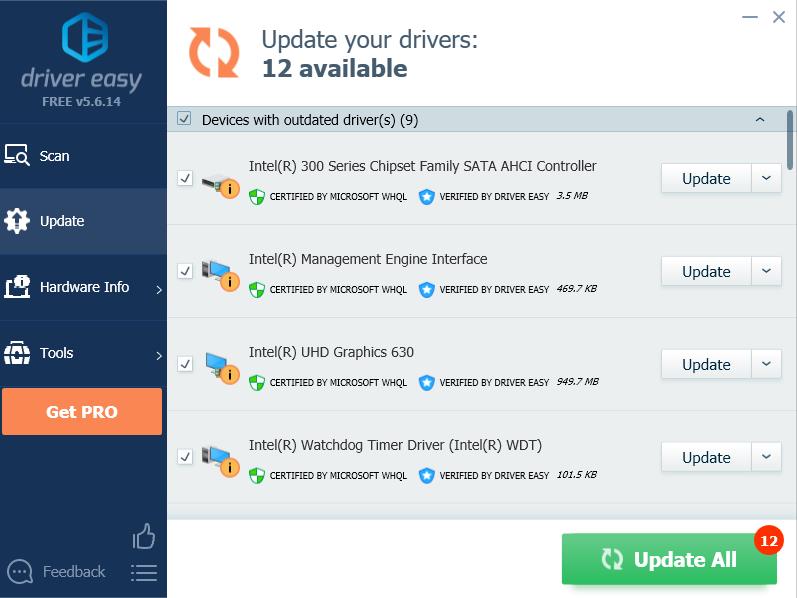
6. If you are using the FREE version, Driver Easy will download the correct version of the driver, which you can install manually.
7. With the PRO version, simply click on Update All to download and install all the outdated or missing drivers on your computer.
This will allow you to successfully update your Intel Drivers in Windows 10 without any hassle or worry.
