Stuck at blue/black screen? Forget your windows login password? Don’t worry! PassFab FixUWin is a all-in-one tool which helps to boot up computers that cannot start, reset Windows local and domain password, recover data from unbootable hard disk and manage your disk. Now take a look at this guide to check how to use it.
Before You Start
Preparation 1. Create a Bootable Disk
-
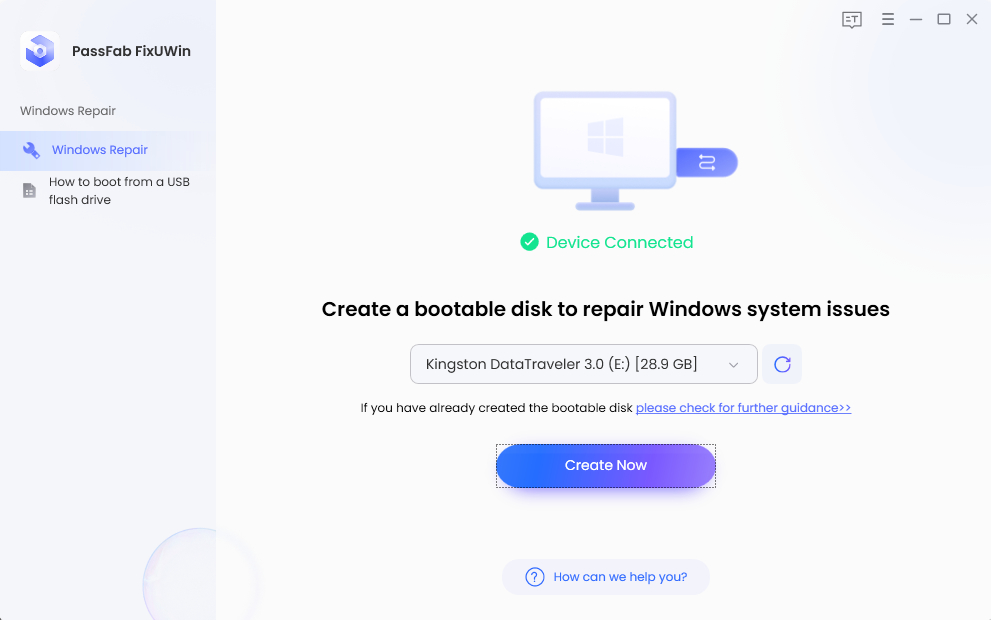
On an accessible computer, download and install the software. Then run the program and insert prepared USB/CD/DVD disk on the computer. Choose the USB/CD/DVD you inserted. Then click "Create now" to start burning repair disk.
Tips:
Make sure to back up important data on your USB/CD/DVD as they will be erased during the process.

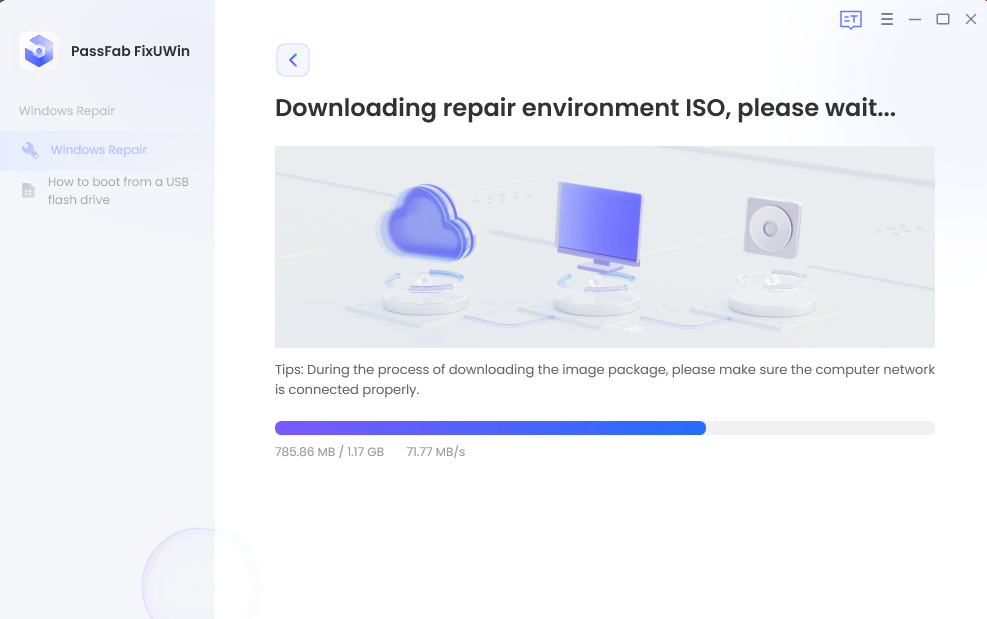
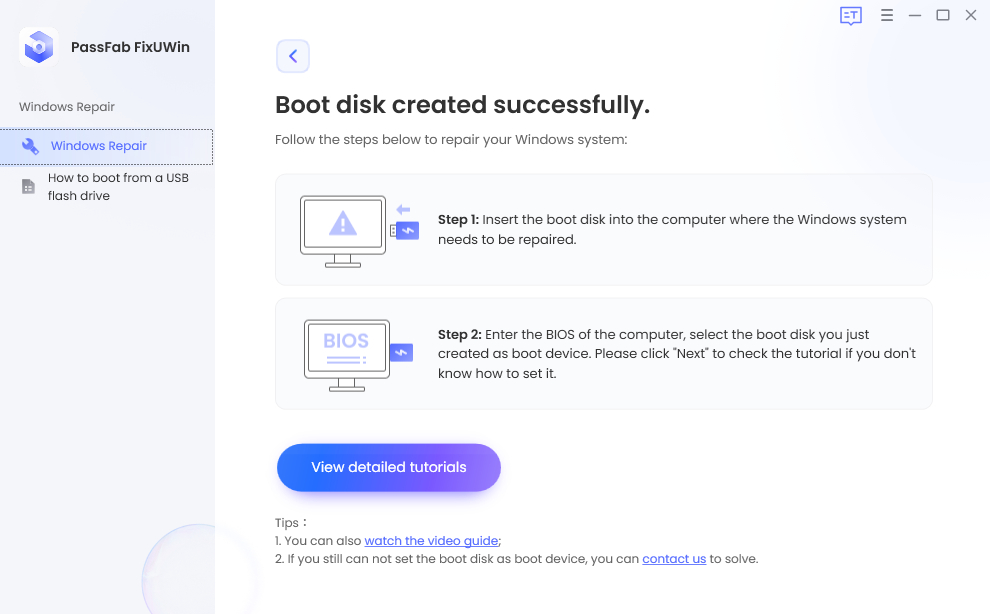
- The program will burn a repair environment ISO to the drive. Wait for the process to complete until you see "Boot disk created successfully" on the interface.


Preparation 2. Boot Windows System from the Burned Flash Drive
-
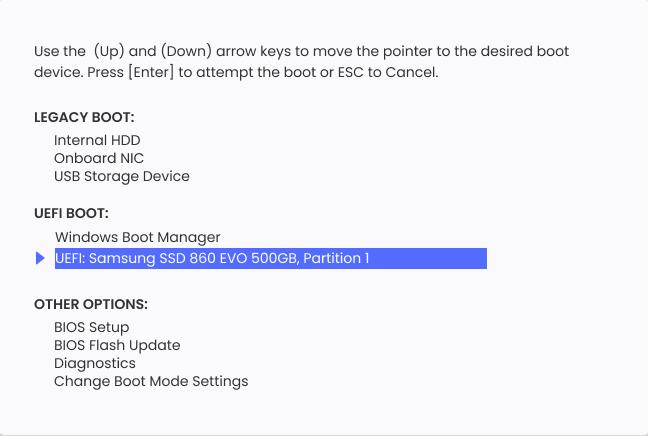
Insert the burned USB drive to the computer that needed repair. Restart the computer and press "F12" or "ESC" on the keyboard to enter Boot menu.
Tips:
The key to enter Boot menu might be different on different motherboards. The common keys to enter Boot menu are F12 or ESC on popular computer brands.
Boot Key Desktop Laptop Motherboard F12 or F12+Fn ASUS, Acer, Founder, HP, Hasee, Haier, Lenovo, THTF Acer, BenQ, Dell, Emachines, eMachines, Fujitsu, Founder, GIGABYTE, Gateway, IBM, Lenovo, SAMSUNG, ThinkPad, Hasee, TOSHIBA, THTF, MSI Great Wall, Dell, TOSHIBA, Foxconn, GIGABYTE, Fujitsu, Gamen, Haier, IBM, Lenovo, Topstar, SONY, THTF, SAMSUNG, ThinkPad, Acer, HP, Hasee, Founder Esc Dell ASUS, Sony Great Wall, Foxconn, ESC, SOYO, MAXSUN, Colorful, SONY, SAMSUNG, Spark, UNIKA F9 or F9+Fn BenQ, HP BISOTAR, HP -
When enter into the boot menu, find your inserted disk from the list of DVD/CD/USB names, click “enter” to select a boot drive.

Part 1. Windows Repair
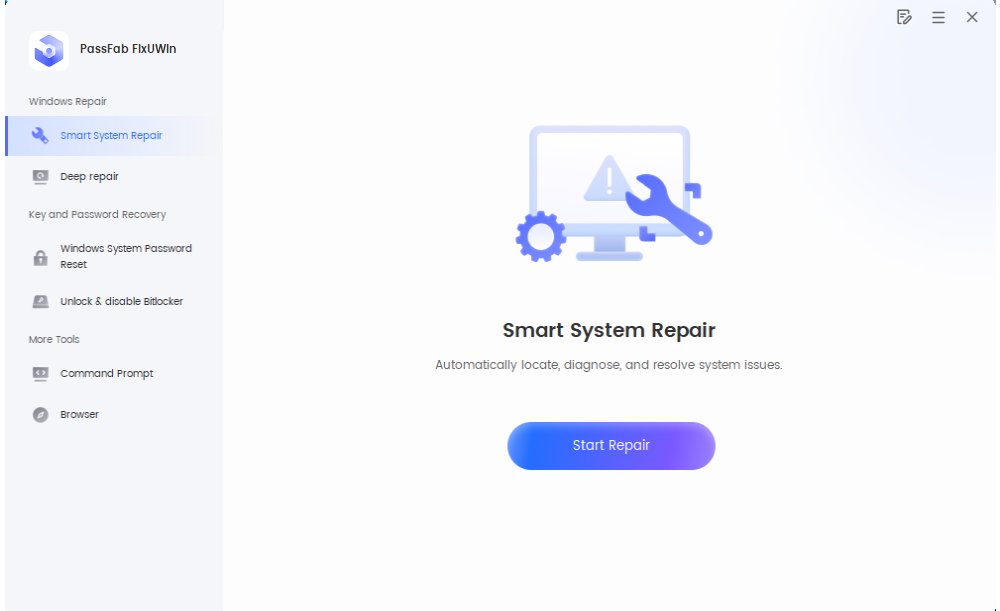
After entering the PE environment, the software will launch automatically. For Windows repair, two options are available.
Smart System Repair
Smart System Repair can automatically detect, diagnose, and resolve most system issues. It scans your system, identifies potential problems, and applies the necessary fixes with minimal effort. For everyday maintenance and troubleshooting, you can make Smart System Repair your first choice to keep your system running smoothly.
-
Click “Start Repair.

-
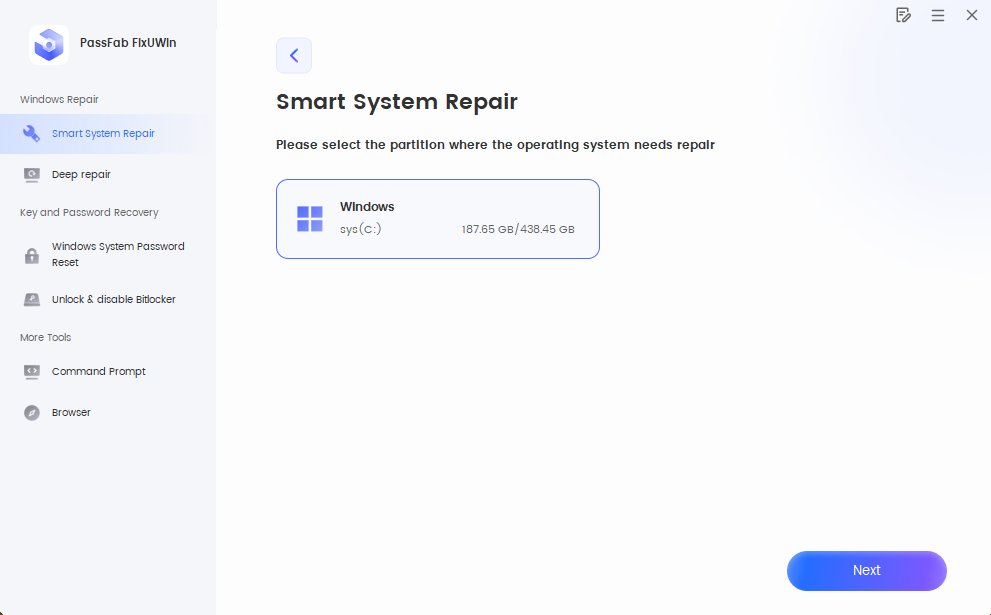
Choose the partition that needed to be repaired, and then click “Next” to proceed.

-
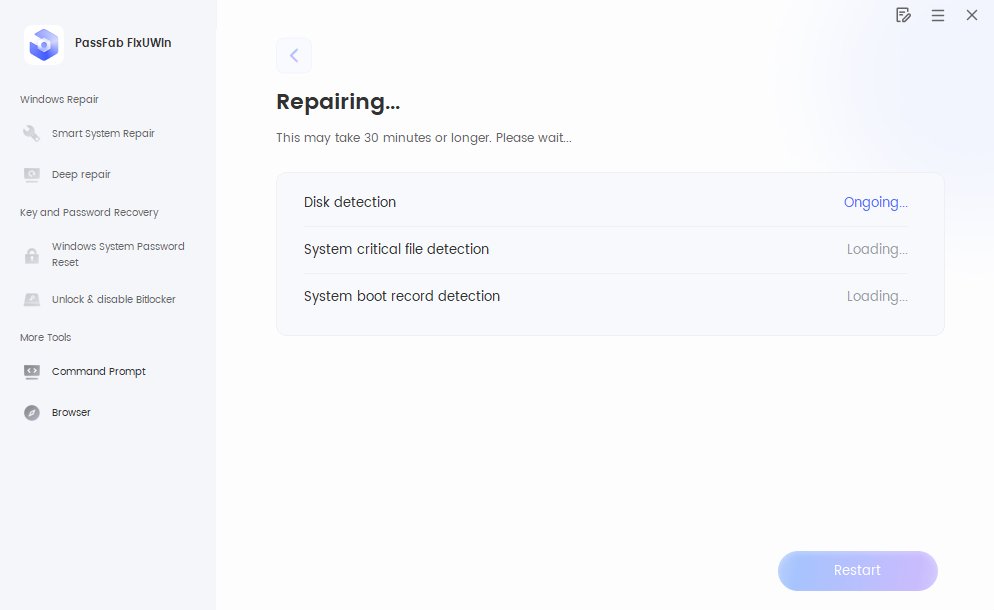
The program will begin repairing your system. This process may take some time to complete. Once the repair is finished successfully, click “Restart” to reboot your computer.

Deep Repair
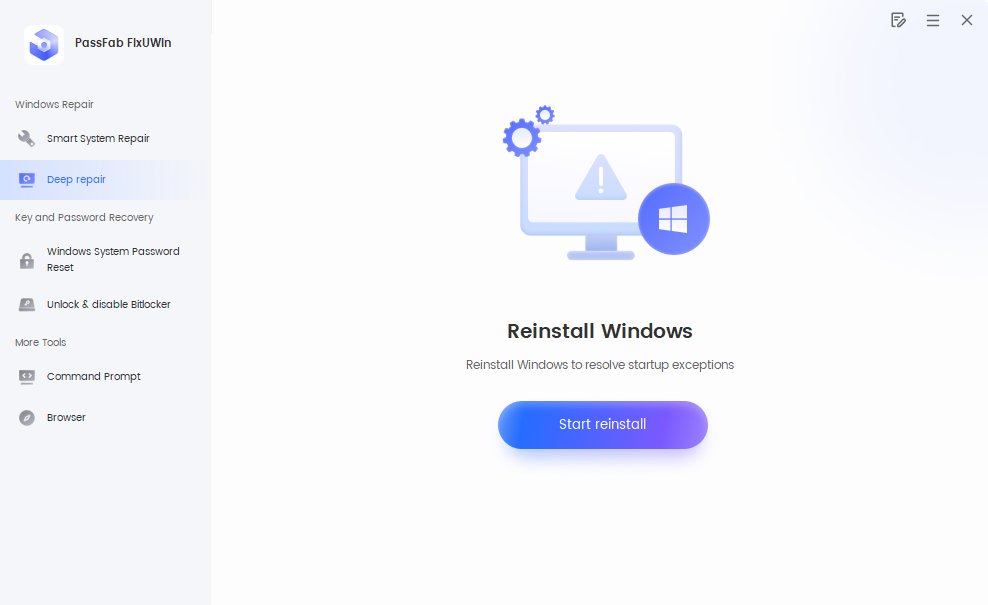
If the Smart System Repair doesn't work, try to use Deep Repair, restalling Windows system.
- Click "Start reinstall".

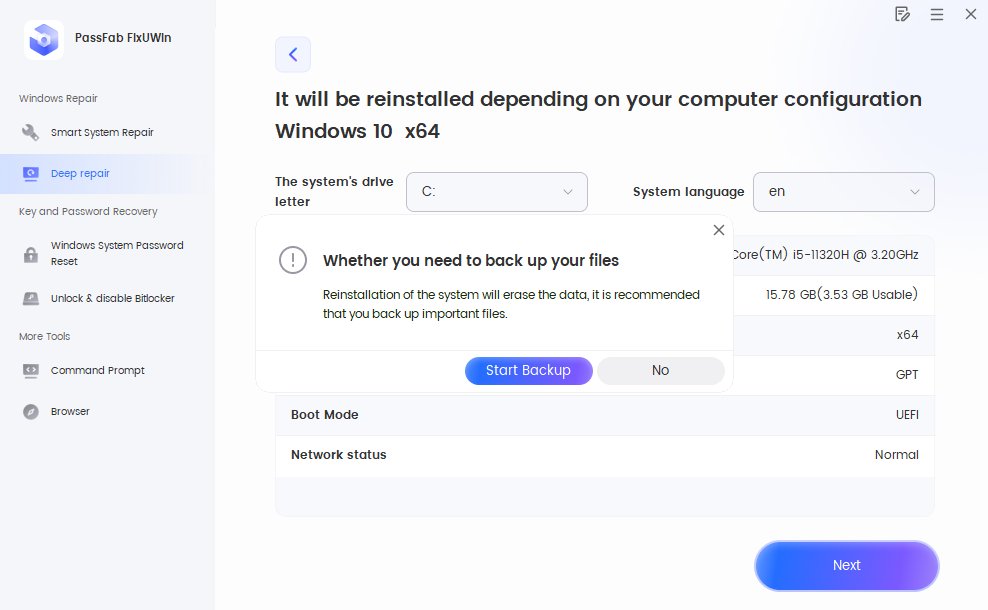
- Review the installation information carefully. If everything is correct, click “Next.” You will be prompted to choose whether to back up your files. You can either back up your files before proceeding or continue directly to reinstall the system.

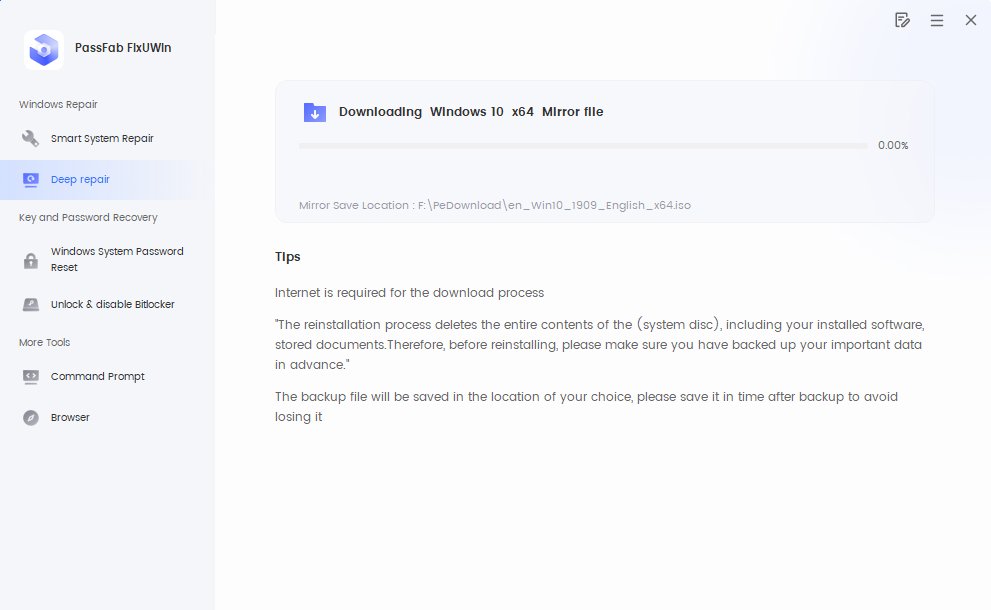
- Wait for the download to complete, and once it’s finished, you can begin reinstalling the system.

Part 2. Key and Password Recovery
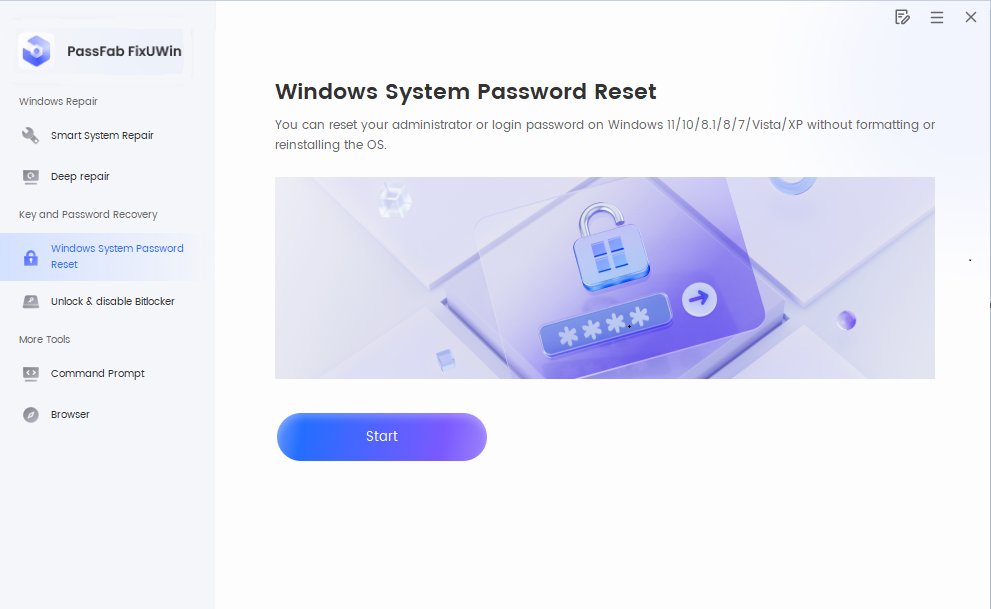
Windows System Password Reset
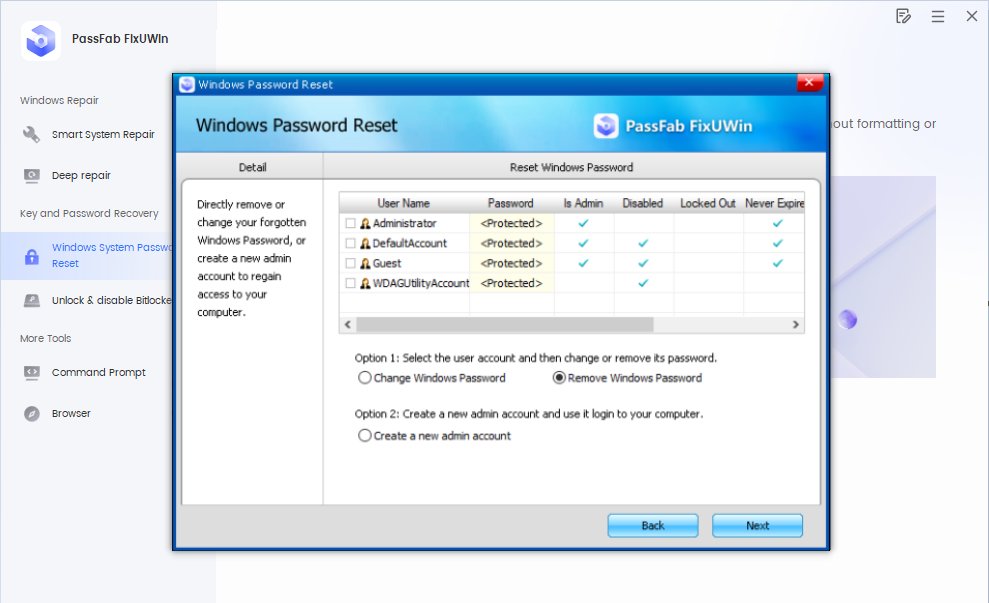
- Click” Start” to reset Windows password.

- Click the user account listed, choose to “change Windows password” “remove Windows password” or “create a new admin account”.

Unlock & disable BitLocker
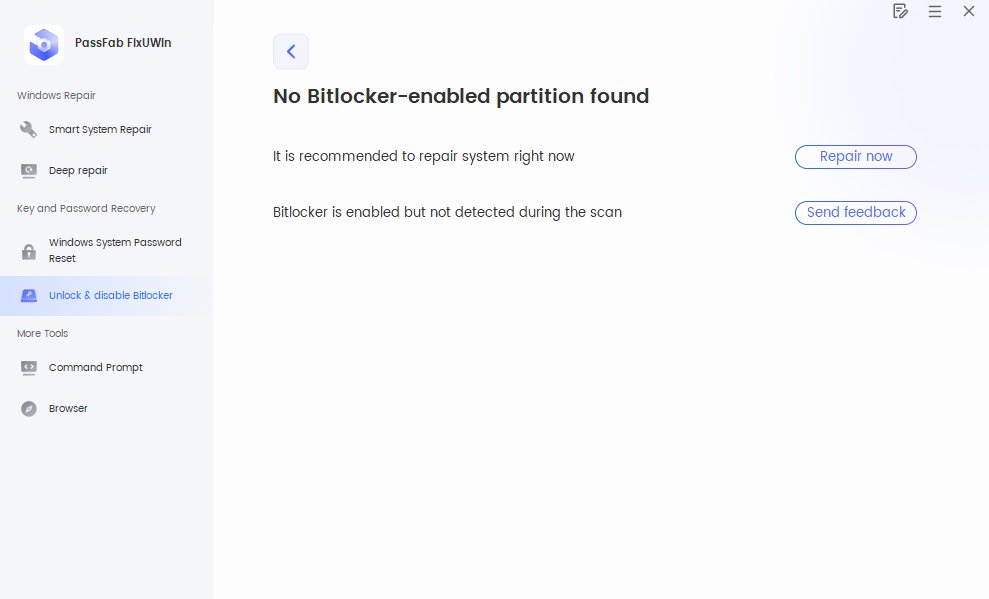
If your system drive is protected by BitLocker, it may affect the system repair process. On this feature page, you can remove BitLocker encryption. Once the removal is complete, you can proceed with normal boot repair.
