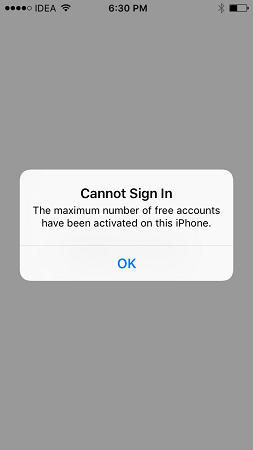
Many iPhone users have experienced the "Cannot Sign In: The maximum number of free accounts have been activated on this iPhone" issue. If you are one these unfortunate users, you must also be wondering “What can I do when iPhone stops accepting a new ID? Don’t worry, we are here to help you. This article covers everything you need to know about the “maximum number of free accounts have been activated on this iPhone” issue and how to fix it for good. So, without further ado, let's get started!
Part 1. What Does It Mean When It Says Maximum Number of Free Accounts Have Been Activated on This iPhone?
First and foremost, let's look at what this feature is exactly about. Basically, Apple has set a limit of adding 3 accounts at maximum on any given iDevice. If you wish to have 3 iCloud accounts on your device, you can successfully do so. However, if you add another account, you will receive the “Cannot Sign In: The maximum number of free accounts have been activated on this iPhone” message.
The main reason for setting this limitation is to stop users from creating various iCloud accounts to achieve limitless storage space. If you did not add an extra account, it might be possible that the previous user of the phone did this. Now that you understand why you get the "Cannot Sign In: The maximum number of free accounts have been activated on this iPhone" error, let’s take a look at some solutions to get rid of this problem.
Part 2. How to Fix Maximum Number of Free Accounts Have Been Activated on This iPhone?
If you own a second-hand iDevice, then it may be possible that the previous users have added iCloud accounts already. It can surely be very annoying to pay for an issue that concerns you but is not caused by you. We have mentioned 2 different solutions that you can make use of when your iDevice displays the "Cannot Sign In: The maximum number of free accounts have been activated on this iPhone" message. So, let's have a look at these solutions!
Solution 1. Create A New iCloud Account on Another iOS Device
The first method is to create an entirely new iCloud Account on any other iDevice. Yes, you can set up a new account on an iDevice other than yours. Just make sure that the Apple ID and password you are using is new and unique. Once you are done with this, simply login to your device with your newly made iCloud Account. Tada! Your work is successfully completed!
Solution 2. Create A new iCloud Account on Mac
The second method is to create a new account on your Mac. You do not need to download iCloud on Mac as it is already available in the system preference. Here is a step-by-step guide on how to create a new iCloud Account on Mac:
- 1. First of all, click on the Apple icon that you can see on the screen of your Mac.
- 2. After that, an interface will pop up. Here, click on the 'System Preference' option.

- 3. Then, select the iCloud option.

- 4. Now, you will be asked to enter your Apple ID and password. Now, instead of signing in with an ID, click on the “Create Apple ID…” button to create a new one.

- 5. Finally, you need to go back to your iPhone and log in with the new ID you just created on your Mac. Now, you will be successfully signed in.
Congratulations! You have finally fixed the "The maximum number of free accounts have been activated on this iPhone" error.
Part 3. How Do I Delete A Free Account from My iPhone?
Technically, any iCloud Account cannot be deleted from your iPhone entirely. As it plays a major role and helps you access all the features in your iPhone, it cannot be removed. However, you can successfully disable it so that it isn’t in your use anymore. So, let's see how you can disable your iCloud Account. Just follow these simple and easy steps.
- 1. First of all, click on the Apple menu and look for System Preferences. Once you have found it, click on it.
- 2. Then, click on the icon that says iCloud.
- 3. Now, you need to scroll down a bit and find the option 'Find my Mac.' You will see that the small box beside it is checked. Simply uncheck it.
- 4. The last step is to enter your credentials of Apple ID and Password and press the “Enter: key. This will disable your iCloud Account.

Bonus Tips: How to Remove Activation Lock on iPhone/iPad
In an unfortunate turn of events, a user may face an issue with his/her iCloud Account being locked. If this happens, you won’t be able to access your iDevice. I know it’s quite frustrating. However, it is time you stop worrying because PassFab has introduced an amazing Activation Unlocker Tool to help you overcome this problem. PassFab Activation Unlocker is a simple and effective tool to shoulder all your problems related to the activation. Here is a step-by-step guide on how to remove the activation lock on your iPhone or iPad using PassFab Activation Unlocker:
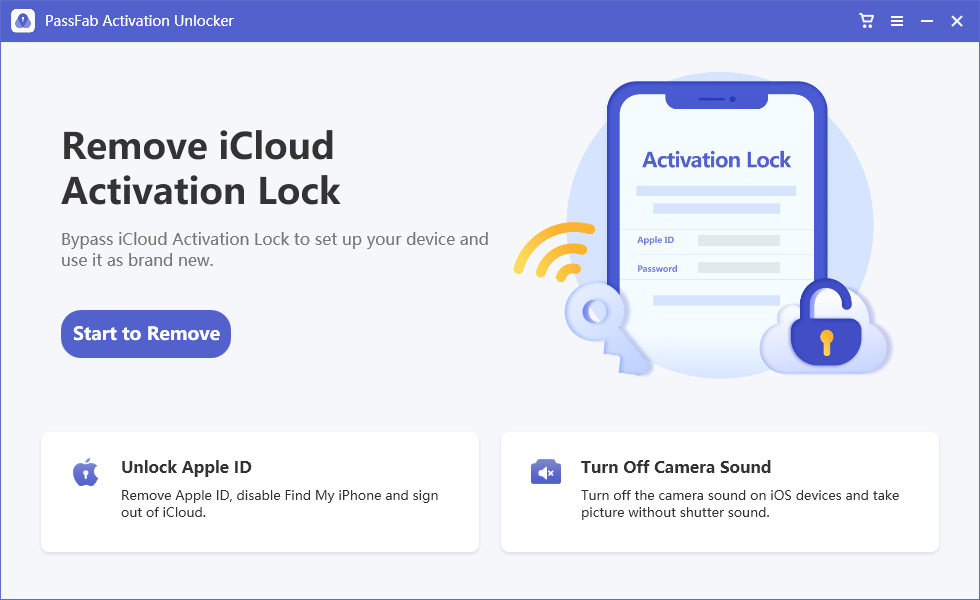
1. First of all, Download the tool PassFab Activation Unlocker on your computer system from the official website of PassFab. Now, open the setup file and install it by following the simple instructions in the installation wizard. Once you have installed the program, run it as an administrator. Click Remove iCloud Activation Lock.

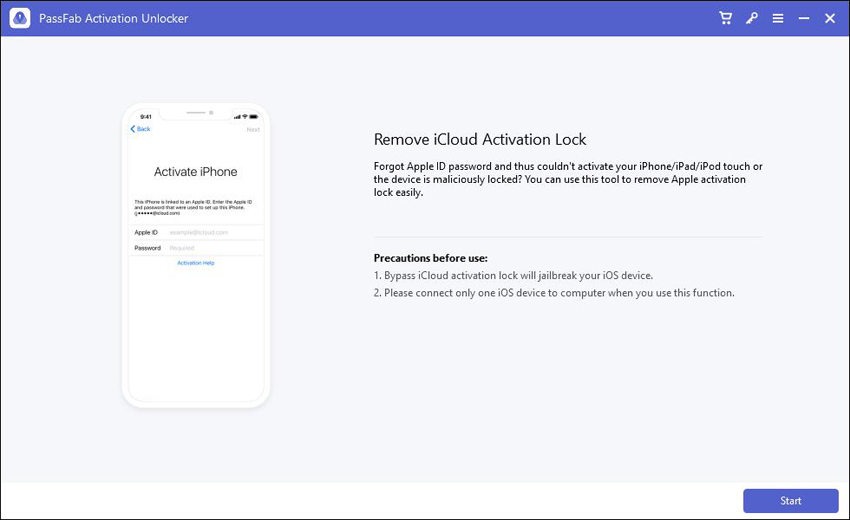
2. So, after launching the program, you will see the main interface of the program. Now, you will see a “Start” button on the main interface. Click on this button to start the process.

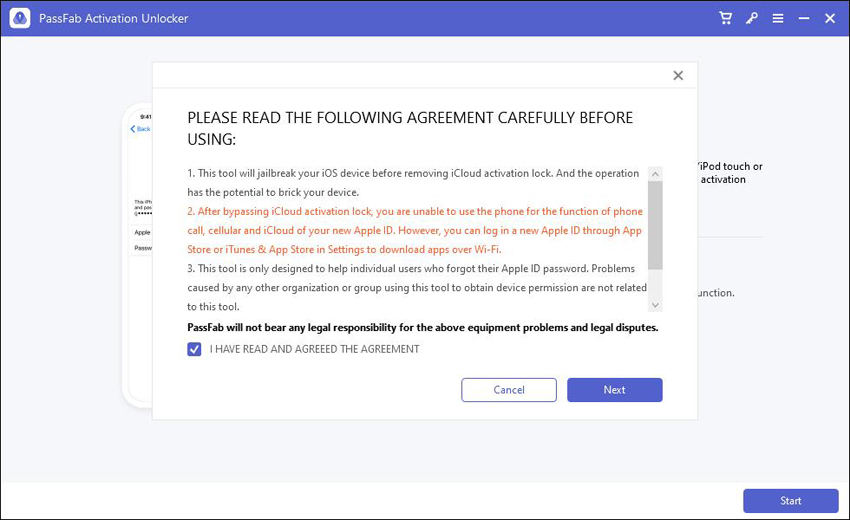
3. Now, you will see an agreement pop up on the screen. Read it carefully and click “Next” to continue.

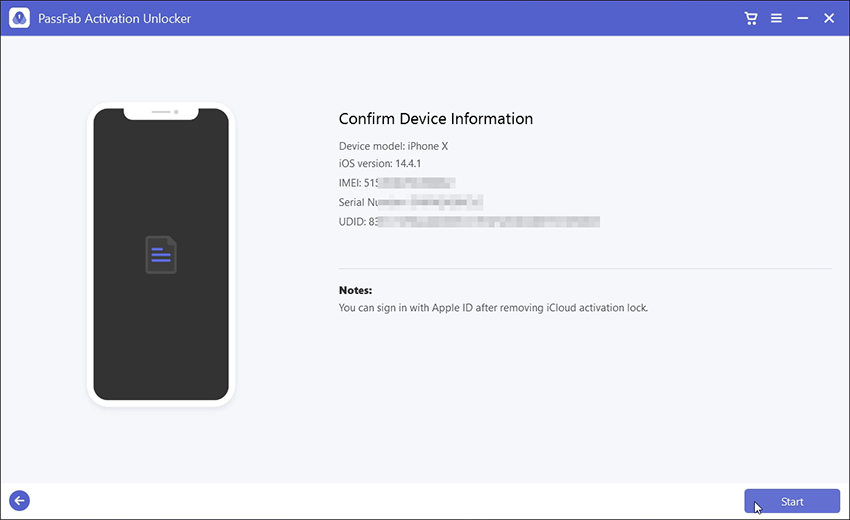
- 4. Now, you need to connect your iDevice to the computer system by a USB cable. The software will detect your device automatically. And download the jailbreak tool automatically.
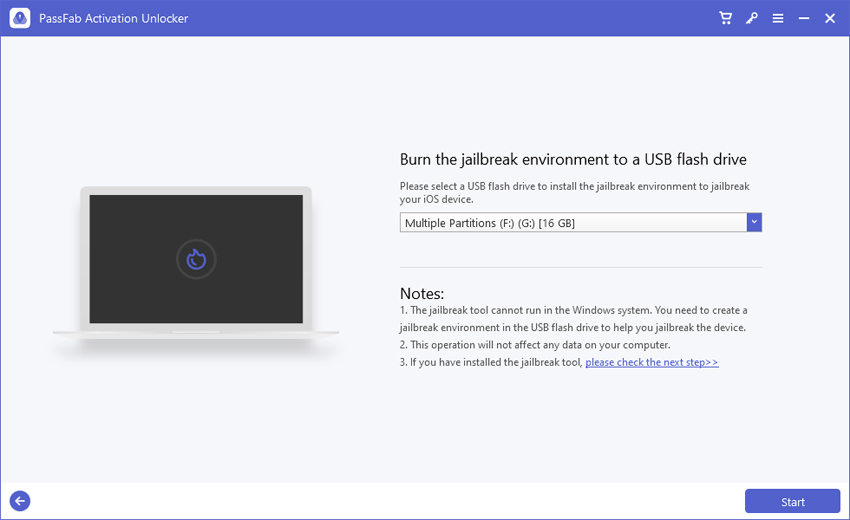
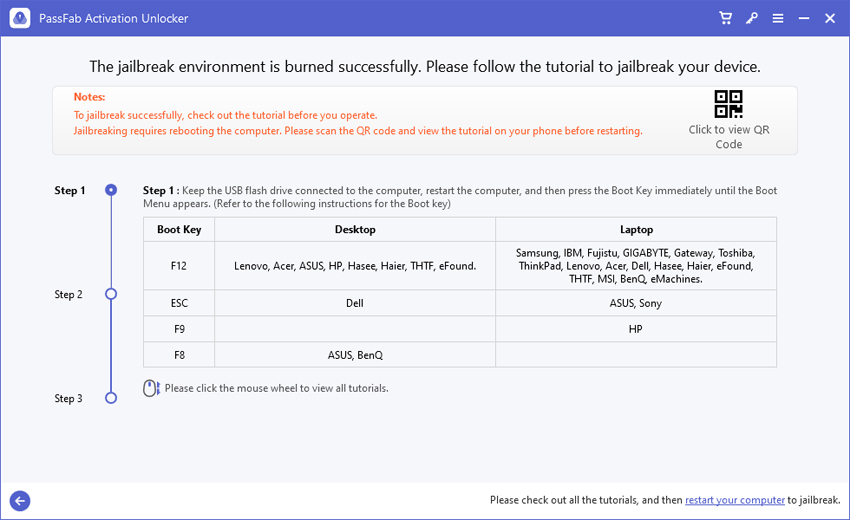
- 5. When the jailbreak tool is successfully downloaded, insert a USB to burn the jailbreak tool in.

- 6. Once the the burning process is done, read the tutoral and jailbreak your device.

- 7. Once the jailbreaking process is completed, run PassFab Activation Unlocker again, and click on the “Start Remove” option to initiate the removal process of the iCloud Activation Lock on your device.

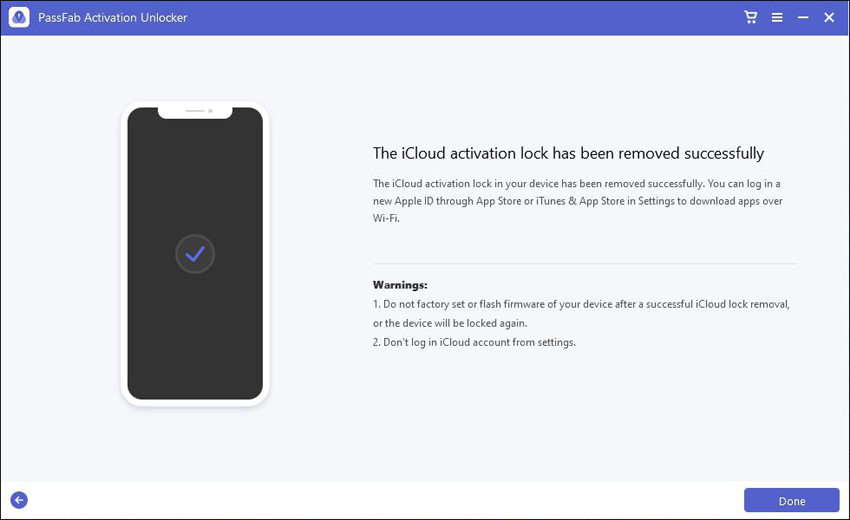
- 8. Voila! You have successfully removed the iCloud Activation Lock from your iDevice. Finally, click on the “Done” button to conclude the procedure.

Final Words
So, this article is a comprehensive guide on everything you need to know about the Cannot Sign In: The maximum number of free accounts have been activated on this iPhone error and how to fix it. We have mentioned 2 effective ways to solve this issue successfully. Most importantly, we also covered a step-by-step guide on how to use PassFab Activation Unlocker in case you ever face an iCloud Activation Lock problem. If you still have further questions, let us know in the comments down below.
