“I want to install Windows 7 from a USB flash drive for fast installation. I just don't want to download the ISO images from Microsoft. How can I extract the ISO of the Windows 7 Home Premium X64 DVD I have (I plan to install Windows 7 Home Premium X64 with my product key that is also Windows 7 Home Premium) and then burn it to my 8GB USB flash drive? (Why I don't want to download the ISO from Microsoft is it takes too long to download)”
There are many instances wherein you may want to transfer an ISO file to a flash drive or an external USB drive. You may want to boot the ISO file from this external storage device. You may be thinking the process to do this is pretty straightforward and simple. But no, it is a little bit more complicated than that, and that is why several people get stuck in a situation that has been mentioned above. Do you wish to extract ISO to USB? Well, this article can help you with that.
- Method 1: How to Extract ISO to USB with WinRAR Software [For Windows]
- Method 2: Unpack or Extract ISO File to USB by Pismo File Mount Audit Package [in Windows]
- Method 3: Open and Extract .ISO to USB with 7-ZIP Free ISO Extractor [in Windows]
- Method 4: Extract ISO Files to USB using 7-Zip Command [in Linux]
- Method 5: Extract ISO to USB with Terminal [on Mac]
- Extra Tips: How to Burn ISO Image to USB
Method 1: How to Extract ISO to USB with WinRAR Software [For Windows]
One of the most commonly used ISO extractors by the Windows system users is WinRAR. This extractor is not free, but you can use its trial version for 40 days. This extractor is pretty simple to use, and even a novice user can work on it. To know how to extract ISO to USB on a Windows system with the help of WinRAR, follow the steps given below.
Step 1: Download, install, and launch WinRAR on your computer system.
Step 2: Click on “File” and select the ISO file and click on “OK”.
Step 3: Select the ISO image that you see on WinRAR, click on “Extract to” and select the USB drive.
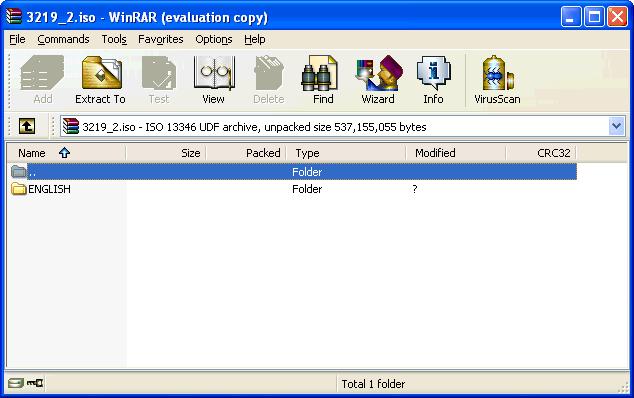
These files will then be extracted directly to the external USB.
Method 2: Unpack or Extract ISO File to USB by Pismo File Mount Audit Package [in Windows]
Pismo File Mount Audit Package or PFMAP is also a great utility for extracting ISO files to USB on Windows systems. With the help of this tool, you can easily open the ISO files and extract them to USB. If you want to know how to extract ISO file to USB using PFMAP, follow the steps given below.
Step 1: Download PFMAP and install it on your computer.
Step 2: From the “File Explorer” window, look for the ISO file and right-click on it to select “Quick Mount”.
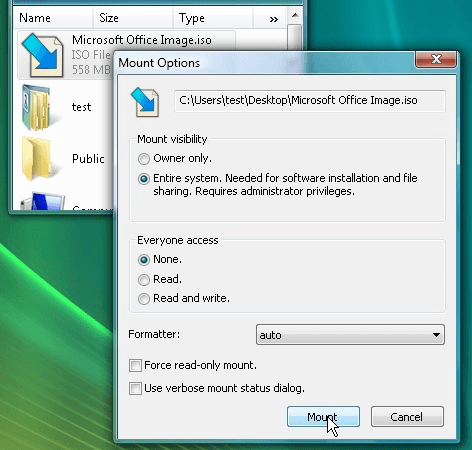
Step 3: The contents of the ISO file can now be seen; they can be transferred to the USB storage drive.
Step 4: After this, right-click on the ISO file again and select “Unmount”.
This is another way in which you can extract ISO files to USB on Windows systems.
Method 3: Open and Extract .ISO to USB with 7-ZIP Free ISO Extractor [in Windows]
One of the most popular free extractor software is 7-ZIP. With this tool, you can even create a .iso file. With the help of this extractor, you can easily powershell extract ISO and view the contents of the ISO file. Here is how you can do this.
Step 1: From the official website, download and install 7-ZIP.
Step 2: After launching it, follow the instructions given on-screen.
Step 3: Once this is done, from the “File” option, select the ISO file that you wish to extract.
Step 4: After selecting the files, click on “Extract” and select the USB drive.
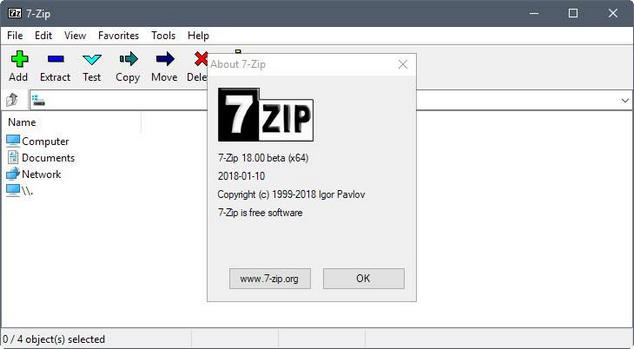
The ISO files will be extracted to USB.
Method 4: Extract ISO Files to USB using 7-Zip Command [in Linux]
The 7-ZIP extractor can also be used to extract ISO files to USB in a Linux system. Follow the steps given below to do this.
Step 1: Install 7-ZIP on your system using the commands given below.

Step 2: After the installation of 7-ZIP is done, you can use commands to extract data from an ISO file.
Step 3: Add the Ubuntu ISO image by using the following command.

Step 4: After this, the content from an ISO file will be extracted.
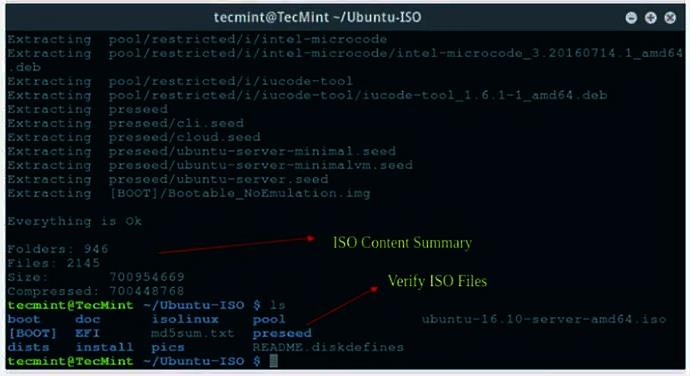
Although this process may seem complicated, it sure is pretty effective.
Method 5: Extract ISO to USB with Terminal [on Mac]
If you are using a Mac system, you can use Terminal to extract ISO to USB in the following way.
Step 1: From Spotlight, look for Terminal and launch it.
Step 2: Key in “hdiutil mount” and then drag and drop the ISO file which you wish to extract and hit Enter.
Step 3: Click on the virtual drive appearing on the top of the screen to view all the files in the ISO drive.
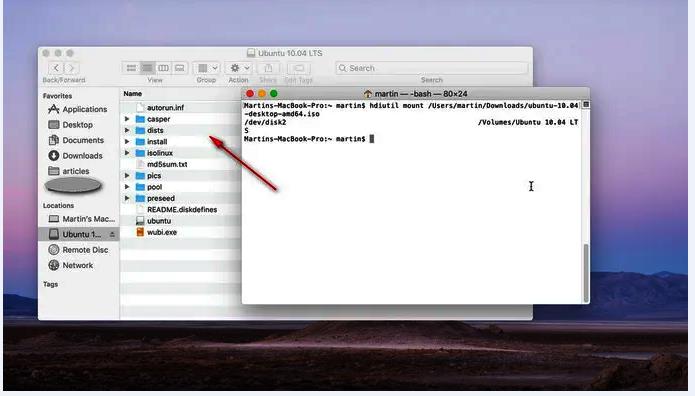
After this, you can extract the ISO file to USB on Mac.
Extra Tips: How to Burn ISO Image to USB
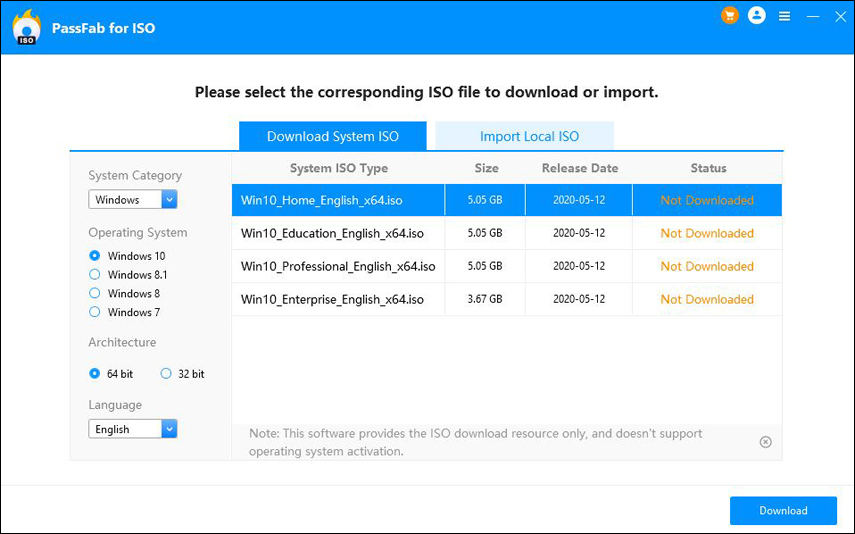
If you wish to burn an ISO image to USB, the best way to do this would be to use a third-party tool. The best program for this purpose is PassFab for ISO. This is an incredible tool that can be used to burn an ISO image to USB in just a few simple steps, as shown below.
01After downloading and installing the program, launch it on your computer. Choose whether to download system ISO or import local ISO image file.

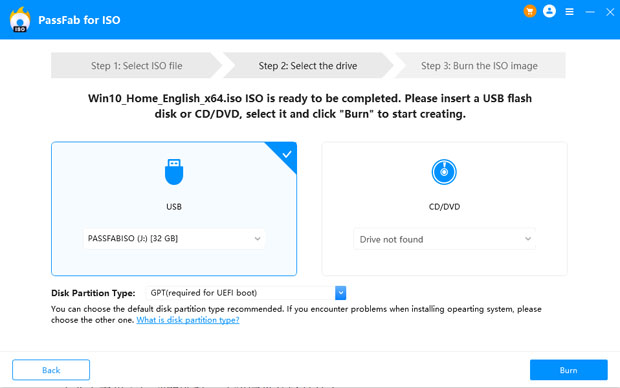
02Select “USB” flash drive and click on “Burn”. It will pop up a window and warn you that the data in USB will be erased while burning. So make sure you have backed up the original data in it.

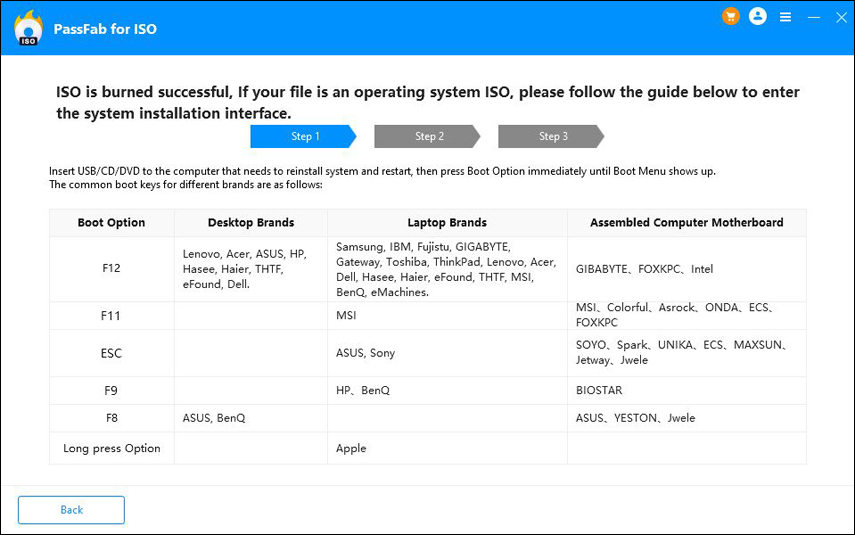
03Wait for a few seconds. The burn will be successful after this.

Conclusion
In order to compress a large number of files into a smaller space, people generally prefer using ISO files. If you want to extract ISO to USB bootable, you can use any of the above mentioned methods based on the system you are using, Windows, Mac, or Linux. If you want the best way to burn an ISO image to USB, use PassFab for ISO, which is highly recommended.
