Has your Windows 11 screen suddenly converted into blue color? Or does your Windows 11 screen always malfunction during certain activities? It is a common issue in Windows 11. There can be several reasons why your Windows 11 screen suddenly goes blue. Most people are unaware of the major reasons behind this Windows malfunction and take uncertain fixes to tackle it. Let’s understand the primary reasons behind the Windows 11 blue screen and some tips before you start fixing it.
Part 1.What Is The Blue Screen Of Death?
Part 2. Tips Before You Fix Windows 11 Blue Screen
Part 3. How To Fix Windows 11 Blue Screen?
What Is The Blue Screen Of Death?
The blue screen of death is when your Windows 11 screen suddenly goes blue while running. This is one of the common issues in Windows 11 that can occur because of various reasons. The blue screen of death is also called the BSOD error. The major causes of the blue screen in Windows 11 are failure of low-level internal software, malfunctions in the hardware, errors in the Windows drivers, and similar other problems.
Tips Before You Fix Windows 11 Blue Screen
Fixing a Windows 11 blue screen can be a simple process. However, you should follow the steps closely when fixing the issue since a slight mistake can result in various issues in your internal system. Creating a backup of your entire system data is also important to protect it from being lost. There are different ways to backup a system file, but the best is through the PassFab FixUWin . The tool allows you to backup the entire system data with a few clicks. Take a look at the steps to backup your system data with the PassFab FixUWin.
- Install and Launch the PassFab FixUWin.
- Use a USB drive to create a boot disk.
- Click the Backup and Restore option from the left menu and click partition backup option.
- Select the Disk you want to back to start
- Click on Start to start the backup.

How To Fix Windows 11 Blue Screen?
Now that you know what the blue screen of death is and the tips to follow before applying the fixes, let’s discuss different methods that you can utilize to fix Windows 11 blue screen.
Method 1: Restart Your PC
There are several reasons that might cause a blue screen on your Windows 11 screen. Most of the time, the issue arises because of a Windows bug. Your windows might also get affected for some reasons that can be the reason for this issue. So, it is better to Restart your PC before getting into other fixes. This will protect you from taking complicated troubleshooting steps.
- If your Windows 11 screen completely turns blue and you can’t perform any actions, it is better to shut down the PC with the power button. Simply press the power button for a while until the computer screen closes. Then, turn the screen ON by pressing the power button again.
- If your Windows screen is still active, right-click the Start button, select the Shutdown or Sign Out option and click Restart. This will allow your computer to Restart. You should proceed to the next step if restarting does not fix the issue and it appears again.
Method 2: Run Windows Memory Diagnostic Tool
The Windows Memory Diagnostic Tool is one of the best tools to diagnose the system's internal memory. The tool will automatically fix the internal errors in your memory. This way, you will be able to fix the Windows 11 blue screen error without any trouble. Let’s understand how you can run the Windows memory diagnostic tools.
-
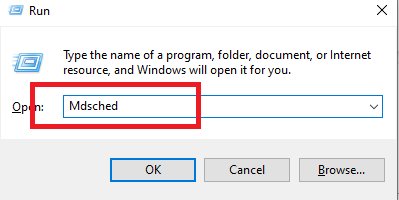
Type Windows + R button and enter Mdsched as a command.

-
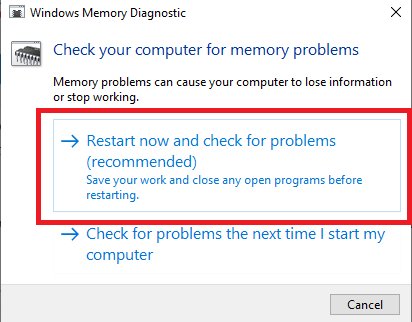
Click the first option - Restart Now And Check For Problems (Recommended)

-
The tool will run an automatic scan after restarting.
The scan and diagnosis can take several minutes to eliminate all the internal errors in your memory. So, make sure to run the Windows Memory Diagnosis only when you don’t have any urgent tasks pending on the computer.
Method 3: Update/Disable Or Rollback Faulty Drivers
One of the major reasons for the internal errors of any Windows malfunctions is faults in specific drivers. Drivers are one of the necessary internal components that are necessary to run the computer. If there are any errors in a driver, there are high chances your computer will start showing errors. One of the common errors is a Windows 11 blue screen. Let’s look into the steps to fix the driver errors.
-
Search for Device Manager and open it.
-
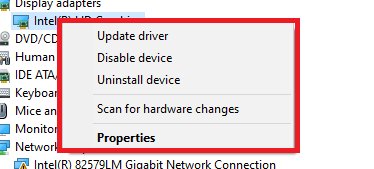
Left click the drive that needs the update.
-
Select the Uninstall/Update or Disable option.

Method 4: Perform System Restore
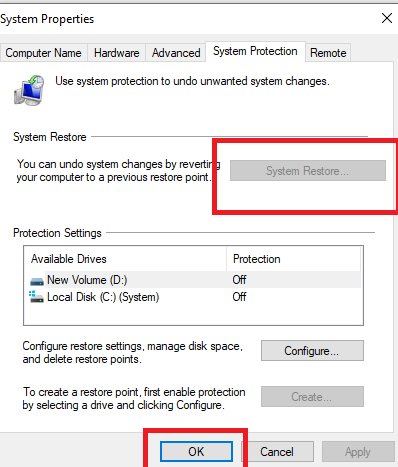
The Windows System Restore is another effective option that can help you fix the blue screen error in Windows 11. Once you restore the system, the computer will revert back to its default settings, and the computer will fix all the internal errors. However, this step has a higher chance of data loss. So, make sure to back up all your data before applying this method.
-
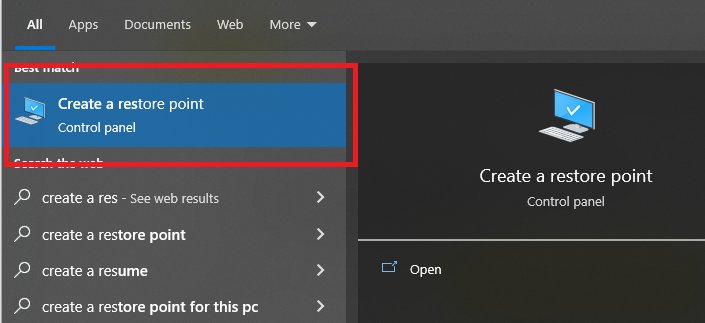
Search for Create A Restore Point in the search bar.

-
Click System Restore under the system protection option.
-
Select Scan For Affected Programs.
-
Tap Next and Finish the steps.

If the system restore does not fix the Windows 11 blue screen problem, you must move on to the next step.
Method 5: Use PassFab FixUWin HOT
PassFab FixUWin is one of the best ways to fix all internal Windows errors. The tool automatically diagnoses the internal driver errors and takes necessary measures to fix them. Other than rescuing Windows, the PassFab FixUWin offers various other features that can be helpful in fixing various other Windows errors. Let’s discuss how you can utilize the PassFab FixUWin to rescue Windows 11.
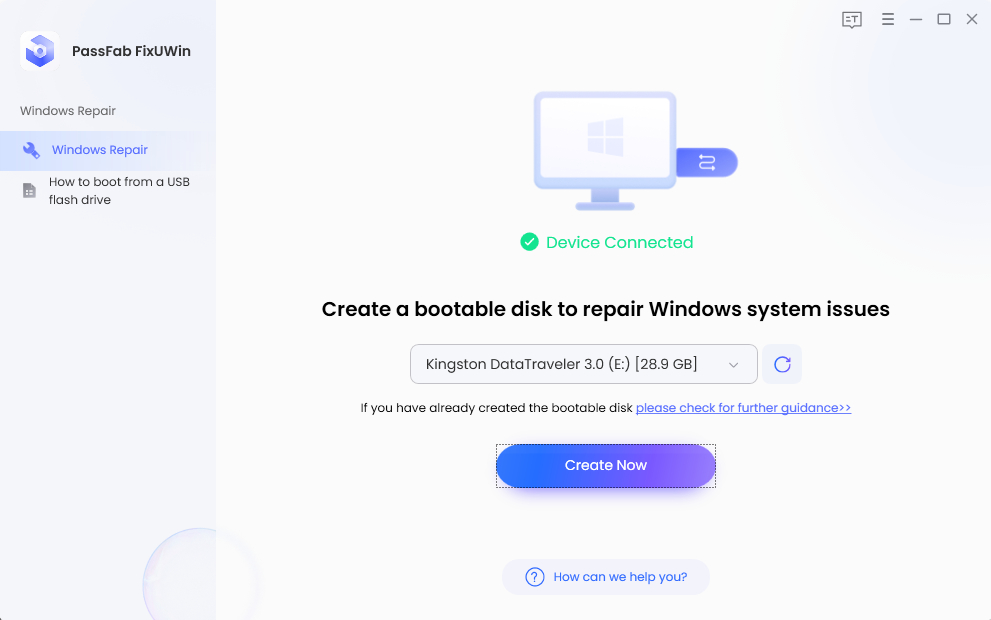
Step 1: Burn a Bootable Disk
Insert a writable CD/DVD-ROM or USB Flash Drive into the computer. After a Window popping below, click "Creat boot disk now" to create a disk.
Step 2: Boot Windows System from USB
- Insert the disk to the computer that cannot start.
- Restart the computer and press "F12" or "ESC" continuously to enter into bot menu.
| Boot Key | Desktop | Laptop | Motherboard |
|---|---|---|---|
| F12 | ASUS, Acer, Founder, HP, Hasee, Haier, Lenovo, THTF | Acer, BenQ, Dell, Emachines, eMachines, Fujitsu, Founder, GIGABYTE, Gateway, IBM, Lenovo, SAMSUNG, ThinkPad, Hasee, TOSHIBA, THTF, MSI |
Great Wall, Dell, TOSHIBA, Foxconn, GIGABYTE, Fujitsu, Gamen, Haier, IBM, Lenovo, Topstar, SONY, THTF, SAMSUNG, ThinkPad, Acer, HP, Hasee, Founder |
| Esc | Dell | ASUS, Sony | Great Wall, Foxconn, ESC, SOYO, MAXSUN, Colorful, SONY, SAMSUNG, Spark, UNIKA |
| F9 | BenQ, HP | BISOTAR, HP |
Step 3: Fix Blue Screen Error
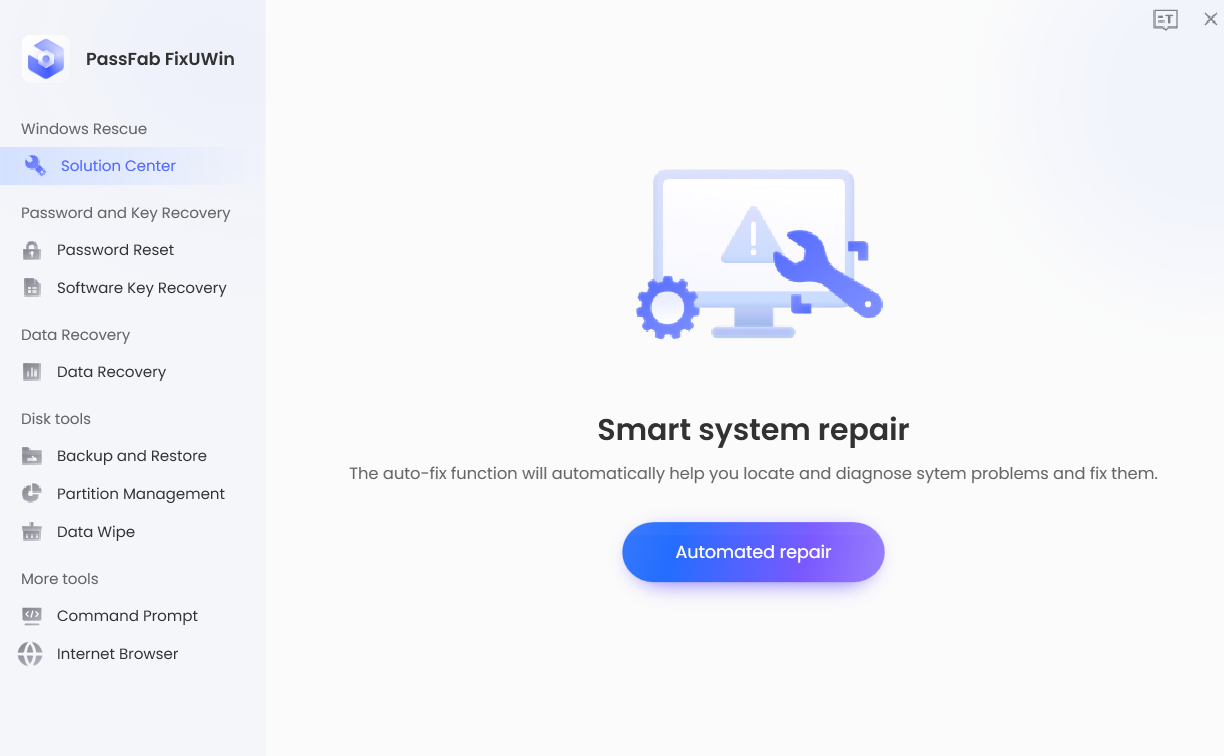
- Click automated repair bottom, and then choose the crash partition you need to fix.
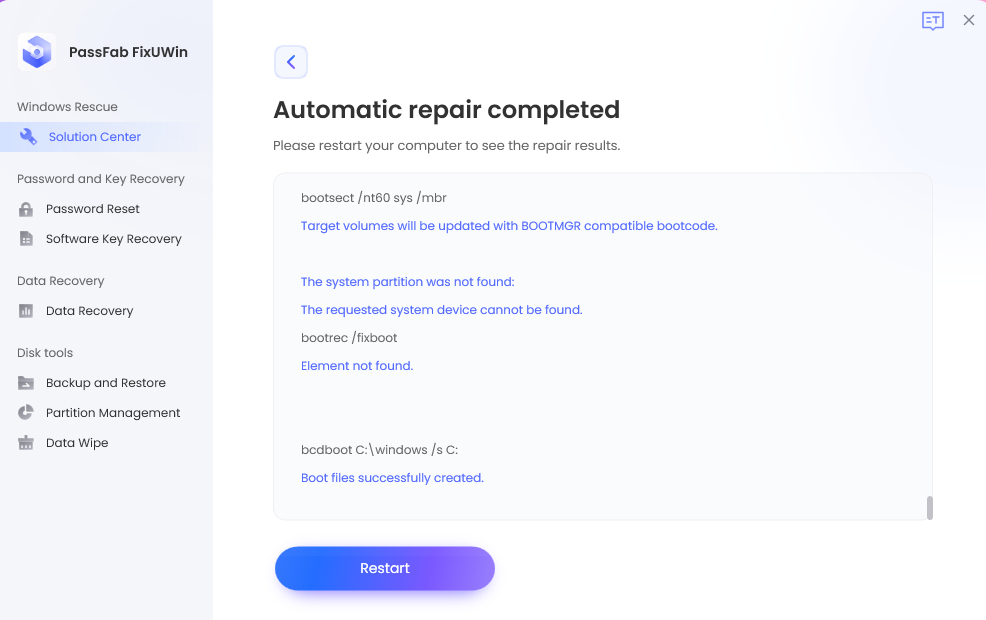
- After the process finish, press” restart” button to restart your computer.
Conclusion
Windows 11 blue screen is a common issue that can frustrate any user. There can be several reasons for this issue and their relevant fixes. Due to this, it is better to analyze the major reasons behind the issue and then apply the fixes.
However, if you are searching for an all-in-one solution that can fix every possible reason behind the blue screen is the PassFab FixUWin . The tool is an excellent solution for the Windows 11 blue screen and all the other similar errors.
