The disc imaging process involves creating an identical copy of the hard drive of a computer and keeping it in a separate location in an image file's form for future use in case your system doesn’t start up or your hard drive fails, because a system image will help you restore it. Try the simple method provided here and you can create a disk image in your Windows 7 system quite easily.
Why You Want to Create A System Image in Windows 7?
Users of Windows 7 systems often ask questions like "how can you make an image of your hard drive on Windows 7", "how can you create a disc image", "how can you create an ISO image or file and how to use it" and the like. But most of them have common reasons for wanting to create a system repair disc; they want to create a backup of their hard drives and create a system image, so they can restore the whole operating system on a new or the same drive.
The restored image will have all the files and programs that your system has so you would not lose anything even if your Windows 7 system or hard drive crashes. Once you have restored a disk image, your system will get into the same condition as it was when you created that disk image and all your files would return. An ISO image is also useful if you want to distribute operating systems or huge programs because you can contain a whole lot of files in one downloadable file and pass it on easily.
Step-by-Step Method to Create A Disc Image in Windows 7
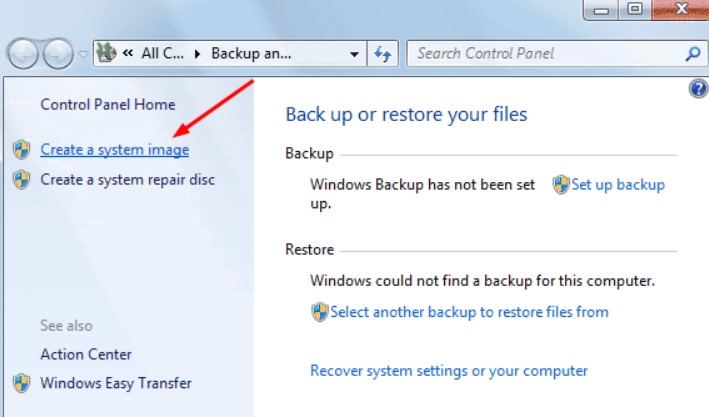
Step 1: Open the Startup menu from the bottom left of your system and type in the word "Backup” in your search bar. Click on “Backup and Restore” when it shows up in menu. You will spot a “Create a System Image” option on the left bar.
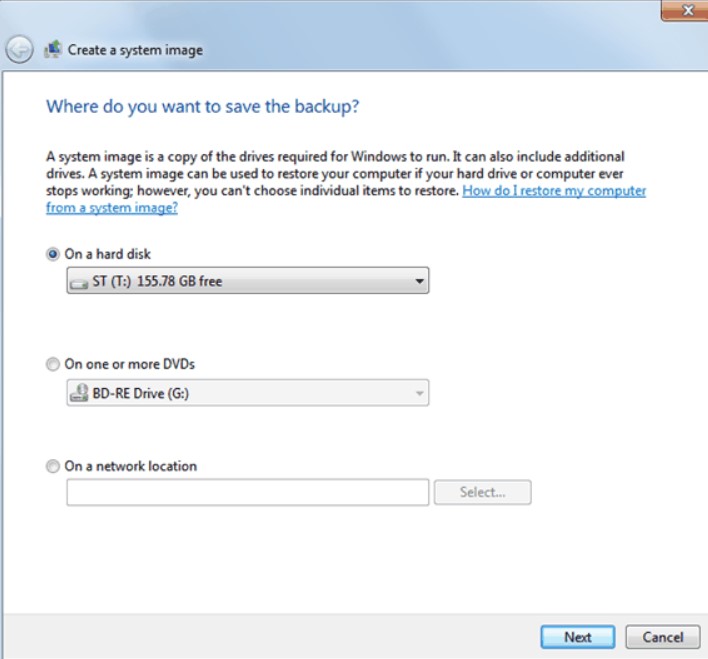
Step 2: Click on this option and a window will open up asking you where do you want to save the backup. At this point, you are supposed to choose a location where you want to store your image backup. Do it on a separate hard drive or create your system image on a USB drive so if your system’s hard drive fails, you still don’t lose your backup. If you want to be safer with your files, you can also save it in multiple locations.
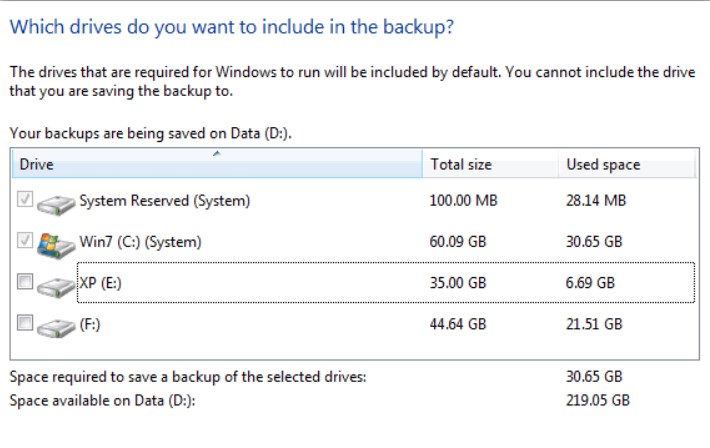
Step 3: After choosing the backup location, you will be redirected to a window where you choose which drives you want to back up. If you have several partitions of your hard drive, you will get to choose which ones you want to back up.
Step 4: A final window for confirmation would open up where you have to confirm your backup location and the drives you want to back up. It would also tell you how much space is going to be occupied by your disk image on Windows 7 system. Choose “start backup” to start making the disk image of your drive. Select this option.
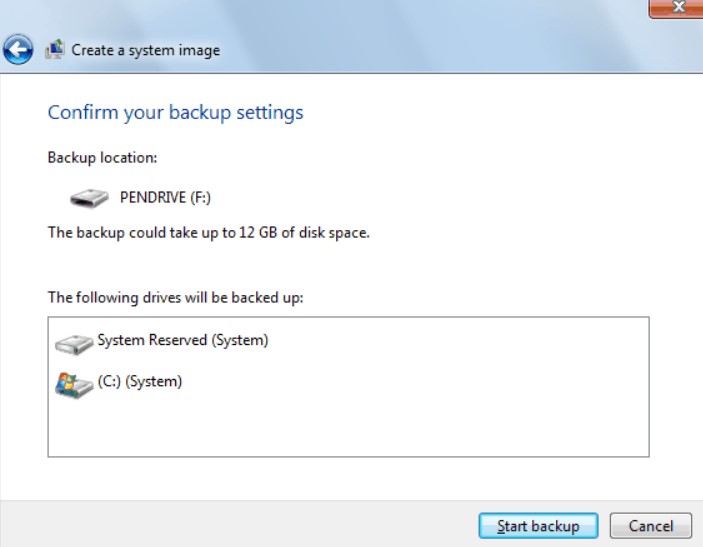
Step 5: The disc backup process will start. Let it load without turning your system off in the meantime.
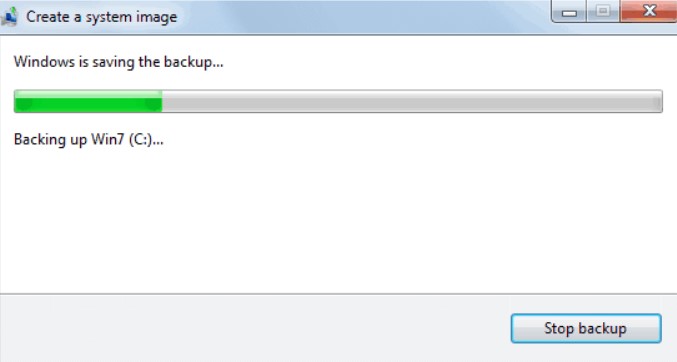
Step 6: Once the backup process has completed, the next step that you are supposed to take is to create a system repair disc on your Windows 7 system. Click on “Yes” and store it in a location from where you can find it easily because it will help you when you restore your system from the backup.
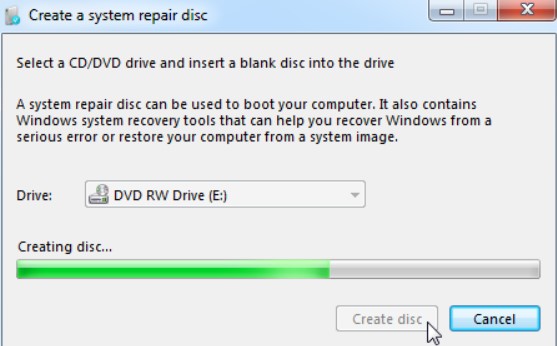
Congratulations! You have created the disc image of your Windows 7 system successfully.
FAQ: People Also Ask About Disk Image in Windows 7
Q1: What is a system image backup Windows 7?
Windows 7 enables you to create a system image that can be used to restore your computer's hard drives back to extract state they were in when you created the backup. This backup is an exact copy of your drive including your peesonal data and Windows files.
Q2: How long does it take to create a system image Windows 7?
Generally speaking, it takes 30–40 seconds for 1 GB of backing up and compresses it as much as it can.
Q3: How much space do I need to create a system image?
The system image contains a complete snapshot of everything on the computer's hard drive at any given time. So, if you have 500 GB of space used on a 1 TB drive, the system image will be about 500 GB.
Q4: What's the difference between backup and system image?
A system image is an exact copy of a drive. By default, a system image includes the drives required for Windows to run. Although this type of backup includes your personal files, we recommend that you back up your files regularly using Windows Backup so that you can restore individual files and folders as needed.
Q5: How often should I create a system image?
As for imaging, I would recommend that you do it monthly, and store them on an external drive.
Q6: Can I use a system image on a different computer?
Yes, you can try to install the old computer's System Image onto a different computer.
Bonus Tip on How to Unlock Forgotten Windows 7 Login Password
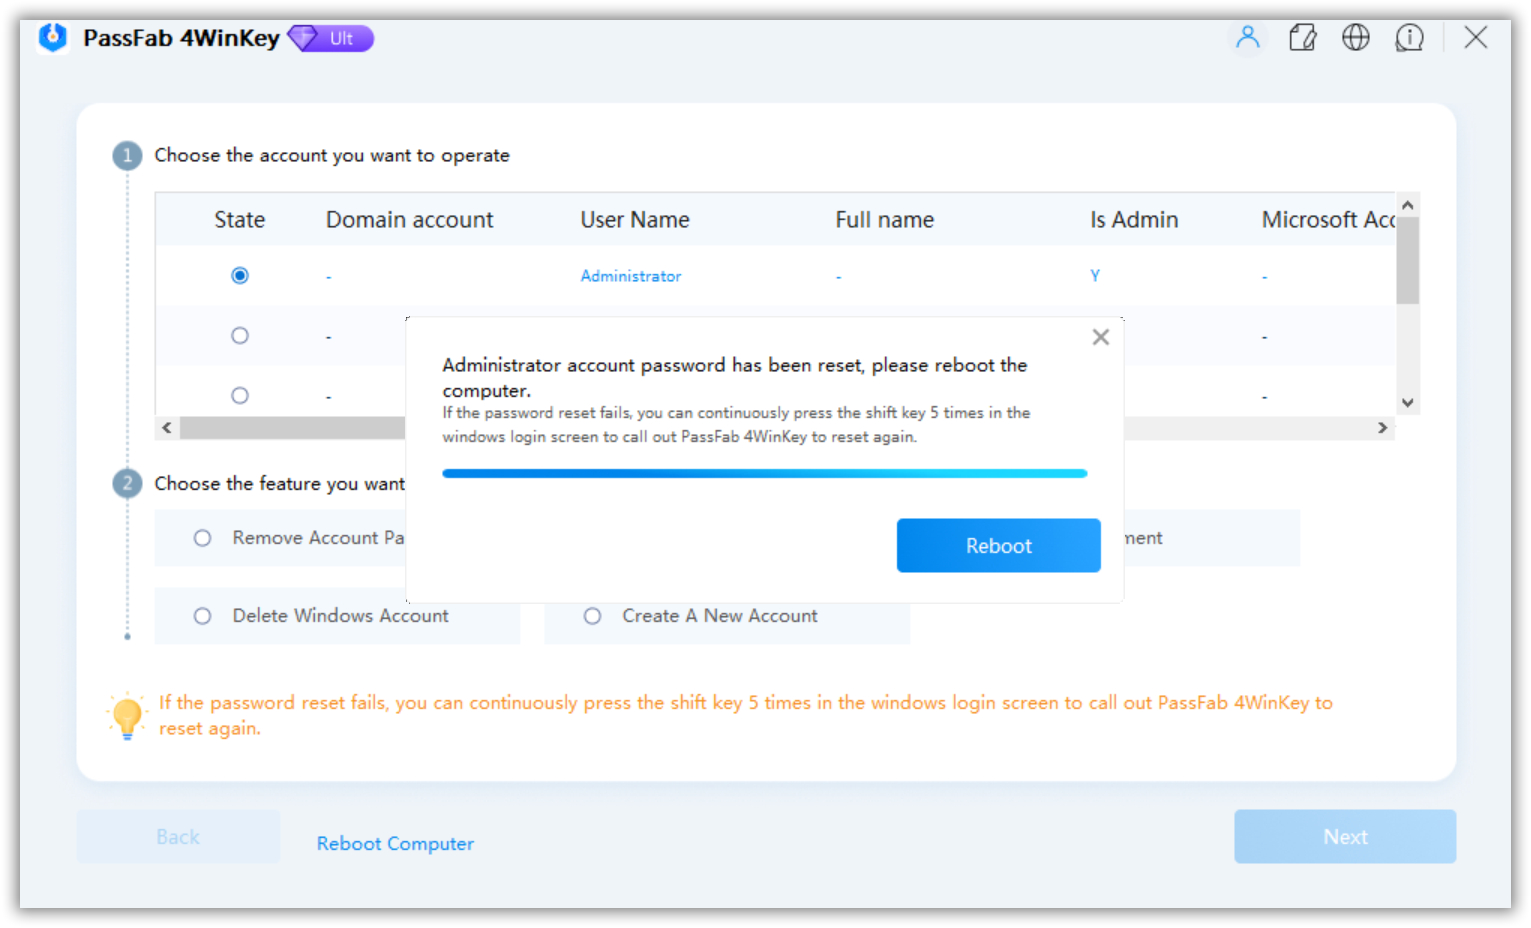
If you have locked yourself out of your Windows 7 computer and want to unlock it by changing its password even though you don’t remember this password, you are at the right place because we are going to introduce a handy tool called PassFab 4WinKey with which you can recover your password in just a few minutes.
It is not easy for everyone to get inside the system and make the necessary changes to reset the password but with the help of this tool, anyone will be able to do this effectively and in a short period of time. In this section, you will see a detailed step-by-step guide about how to use this tool to effectively unlock your forgotten Windows 7 login password.
01You need to launch the PassFab 4WinKey program on another accessible computer first.

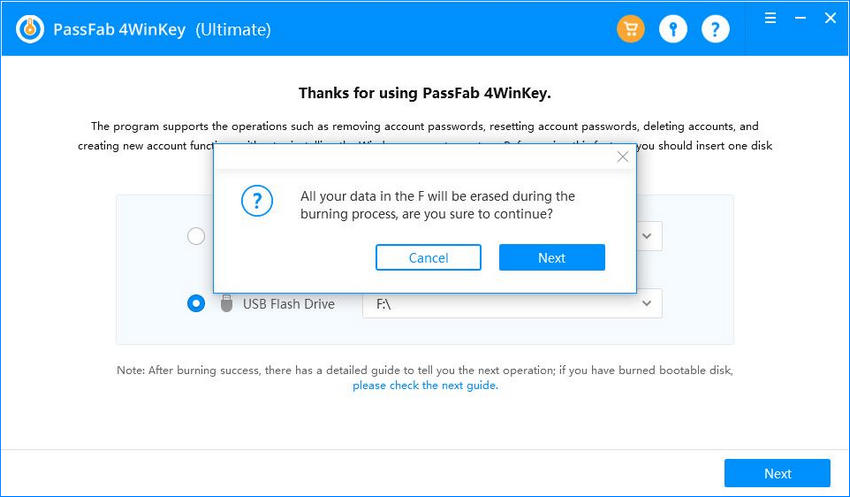
02After that, you need to choose option in order to create a password recovery disk which is bootable on a CD/DVD or USB. The disk you use for this purpose will be formatted before the booting process.

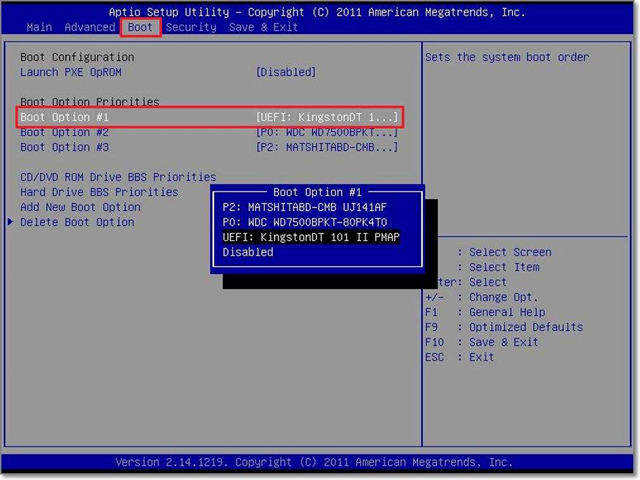
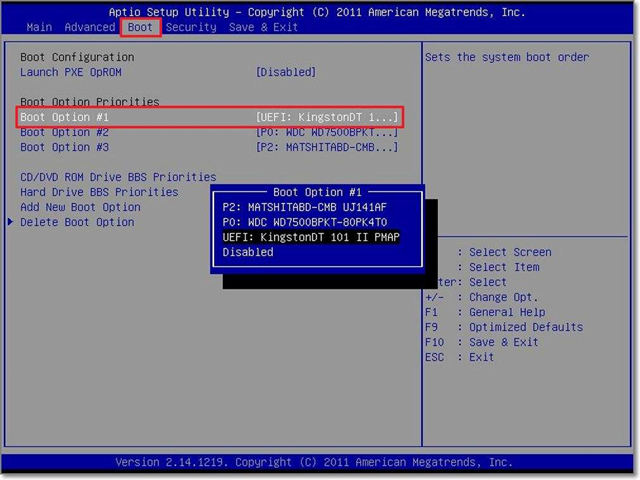
03Press "F12" to enter the boot menu after you have inserted the disk into your locked computer. Select boot after going to the boot option and the recovery program will start.

05On your locked computer, select the Windows installation, your locked account and mark "Reset Account Password" option.

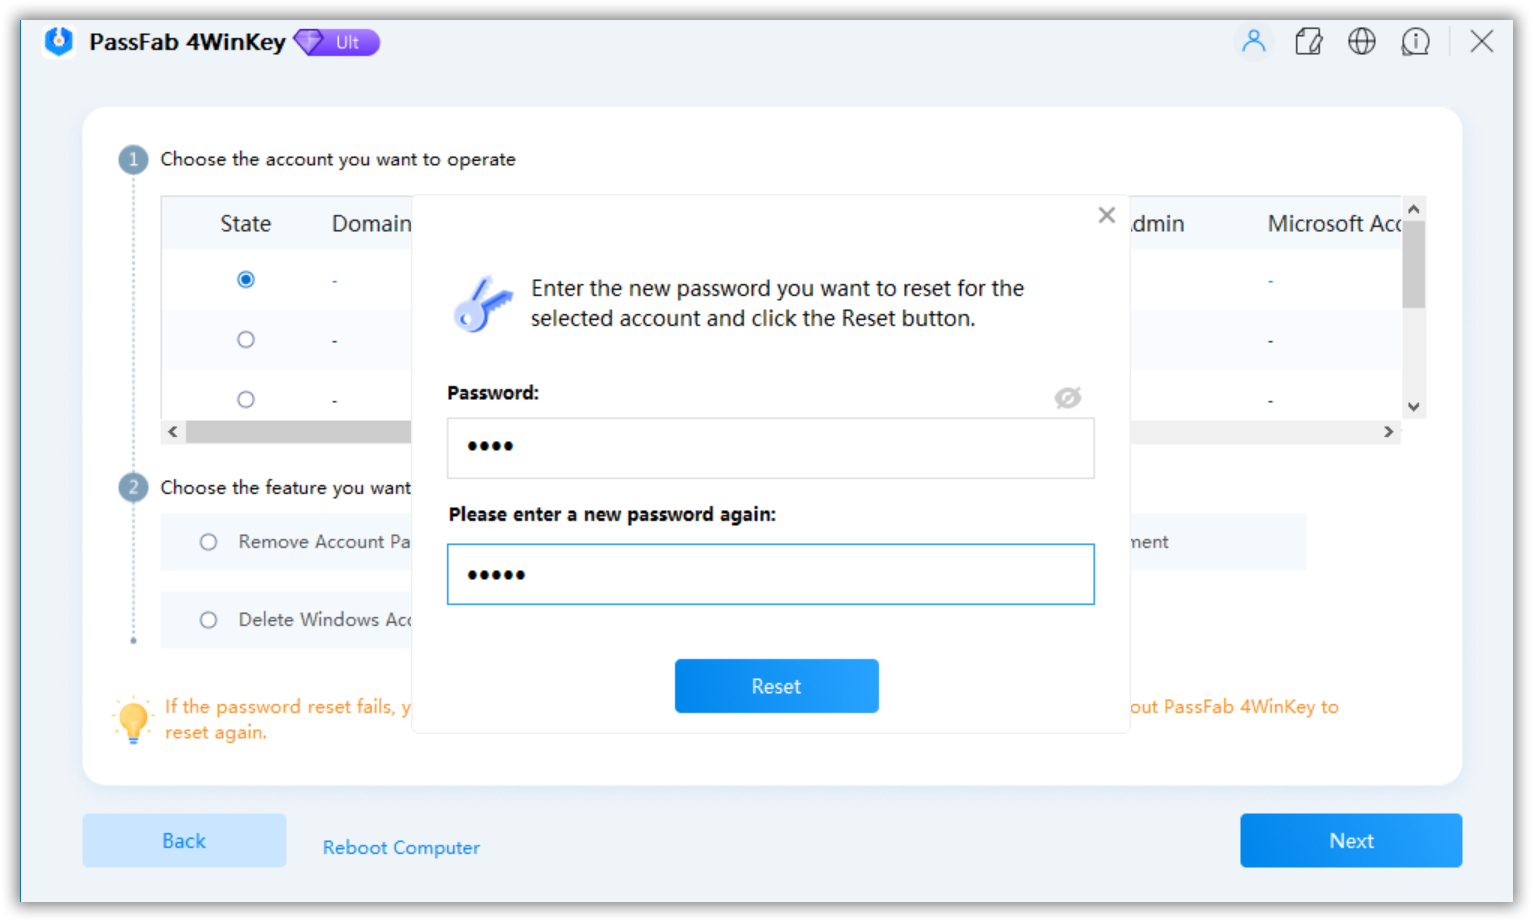
06Type in the new password. Click "Reset" and wait for the password to change.

07 Once it is done, you can log in to your system using the new password.

Summary
In this way, you can easily create a system image in your Windows 7 system in just a matter of few minutes. It is highly recommended to make sure that you have a disk image of your system at all times so you don't lose important data in case your system crashes or your hard drive fails. All you have to do is follow this easy method and your data will be safely stored in your computer. By the way, it also suggest that PassFab 4WinKey (Windows Password Recovery Tool) is a nice option to reset Windows 7 password.
