PassFab Activation Unlock allows you to bypass iCloud activation lock or turn off Find My in your iPhone/iPad/iPod Touch. Below is a detailed guide on how to remove iCloud activation lock and how to turn off Find My via PassFab Activation Unlock.
First of all, you can download this tool for free on your PC/Mac, then run the downloaded file to install it. After that, launch the program to start.
Part 1: How to Remove iCloud Activation Lock
Your iDevice may require Apple ID and password to bypass the Activation Lock after reset or restore. Here is a detailed guide to remove iCloud Activation Lock with PassFab Activation Unlock if you forgot your Apple ID password.
Step 1: Connect Your iDevice to Computer
Step 2: Jailbreak Your iDevice
Step 3: Remove iCloud Activation Lock
Step 1: Connect Your iDevice to Computer
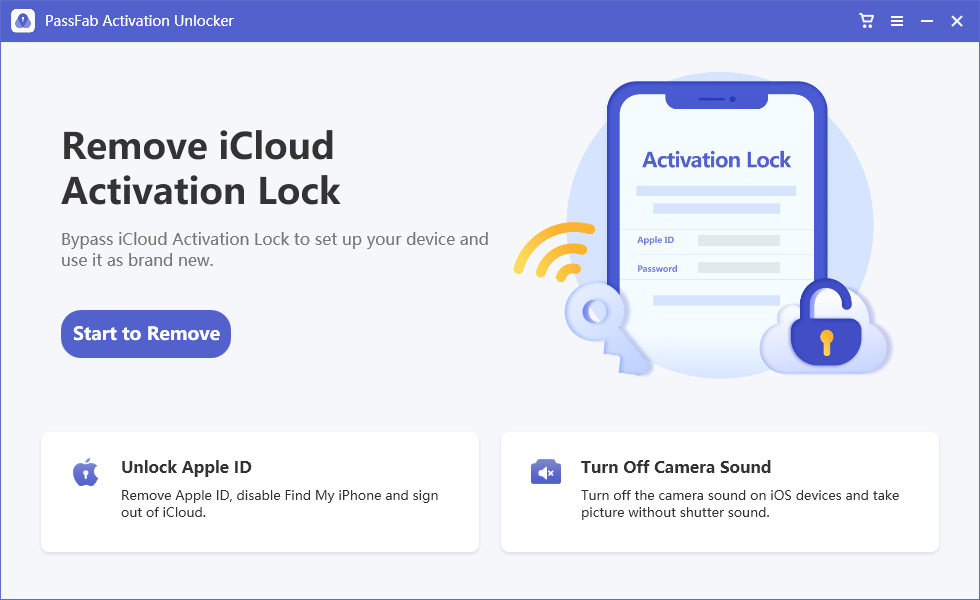
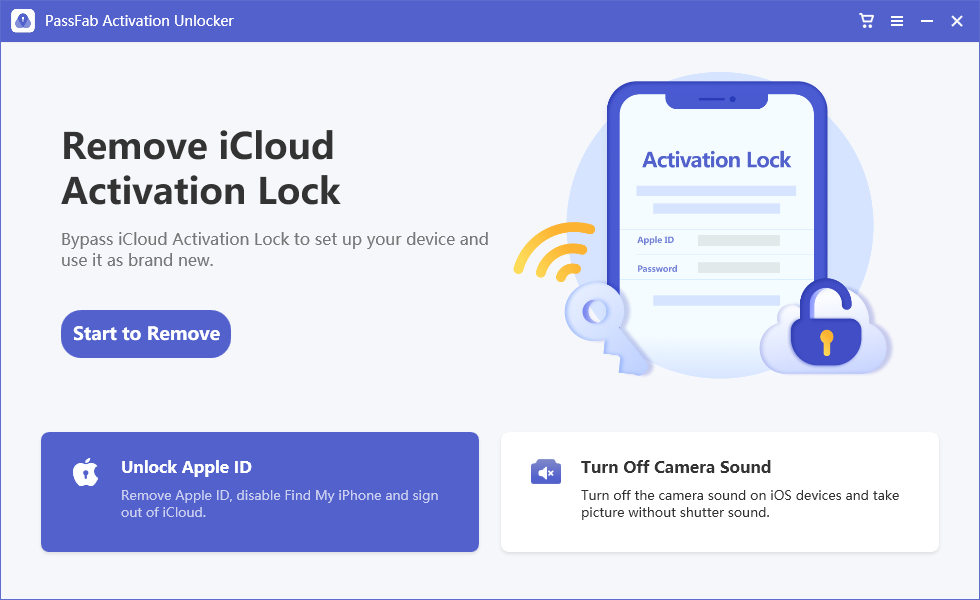
Launch PassFab Activation Unlock, select Remove iCloud Activation Lock.

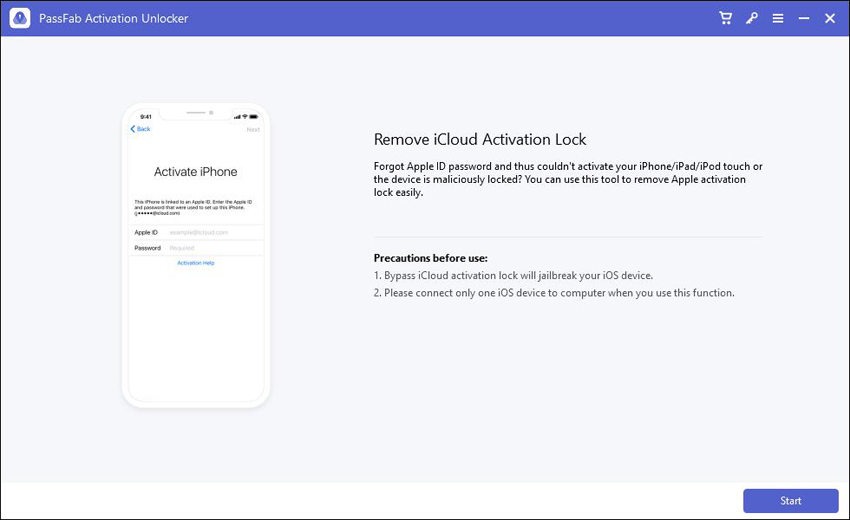
Click the Start button to start the process.

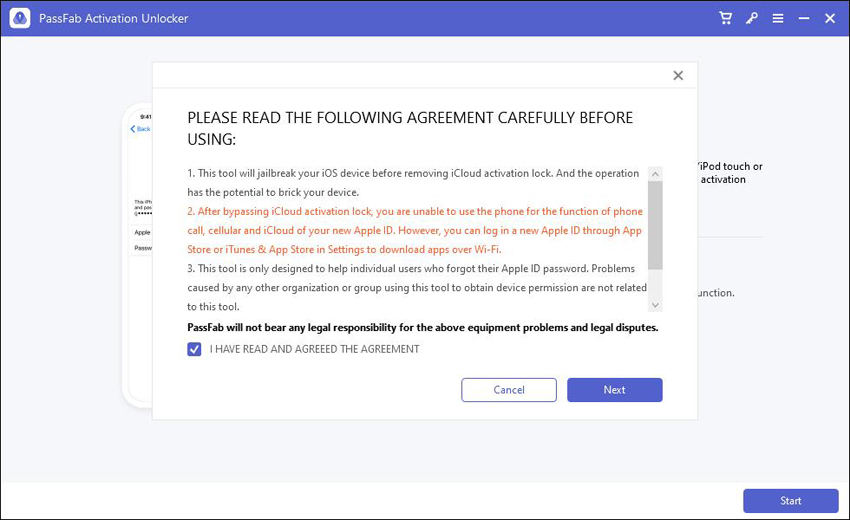
Read the agreement carefully before using the program, and click Next.

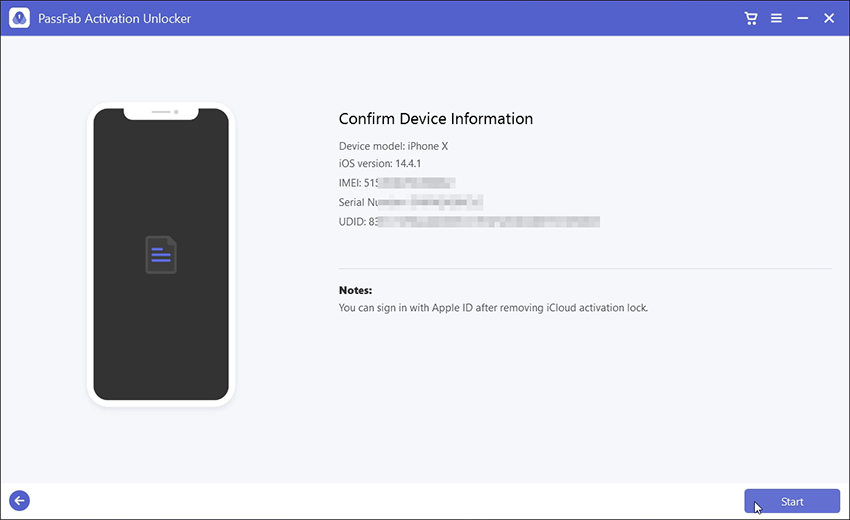
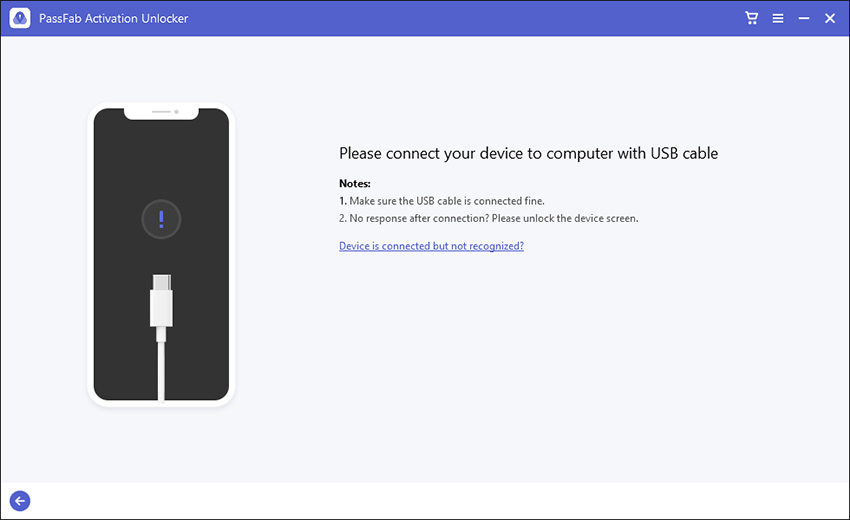
Then you can connect your iDevice that is locked by iCloud activation lock via a USB cable, and the program will automatically detect it.

Step 2: Jailbreak Your iDevice
Scene 1. How to Jailbreak Your iDevice on Windows
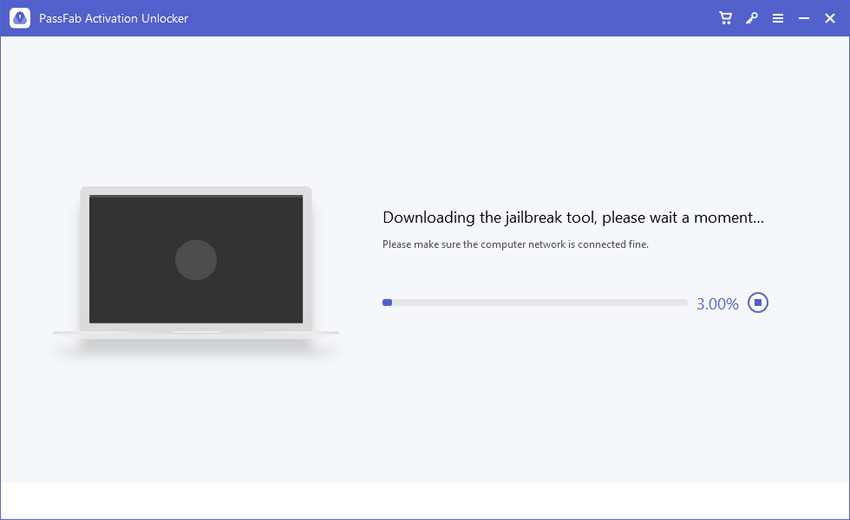
Once your device is connected, PassFab Activation Unlock will download the jailbreak tool for you automatically.

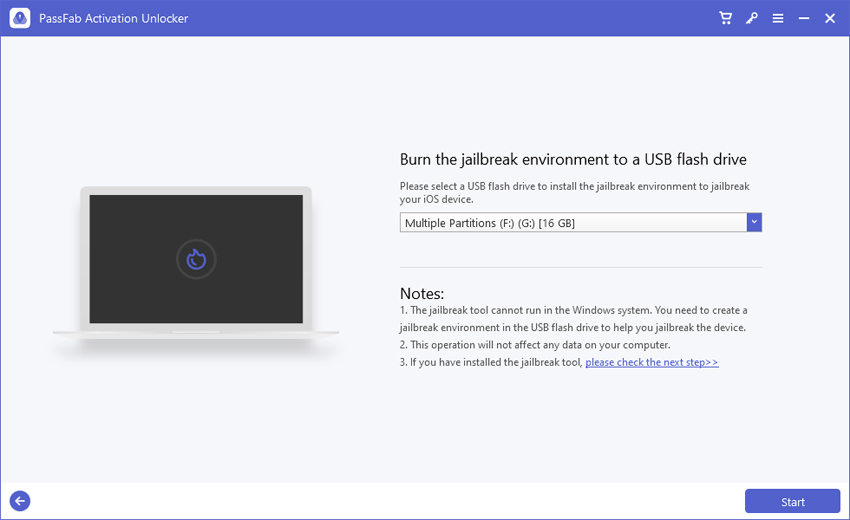
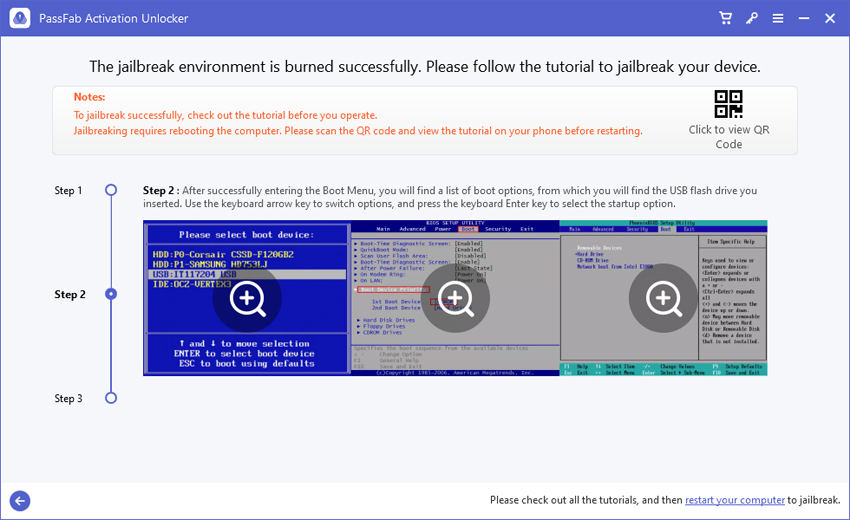
Then it requires you to insert a USB flash drive to burn the jailbreak environment.

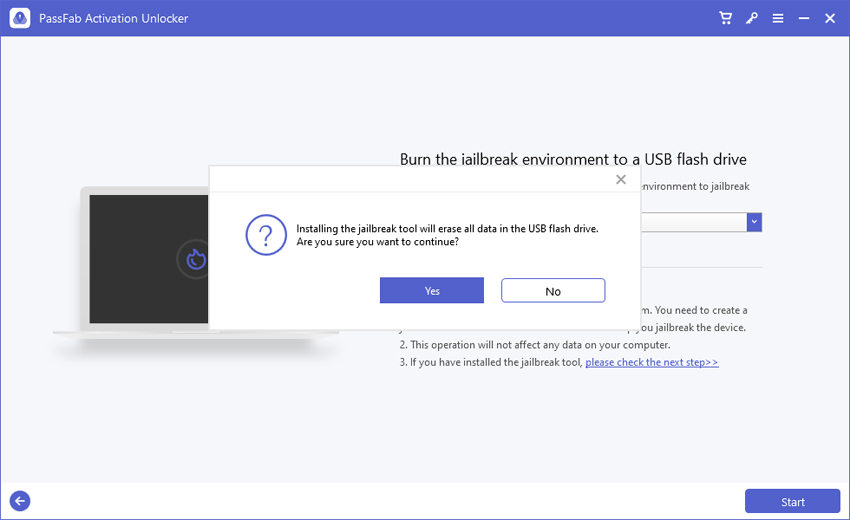
Click Start, it will pop up a window that reads "Installing the jailbreak tool will erase all data in the USB flash drive. Are you sure you want to continue?", click Yes to move on.

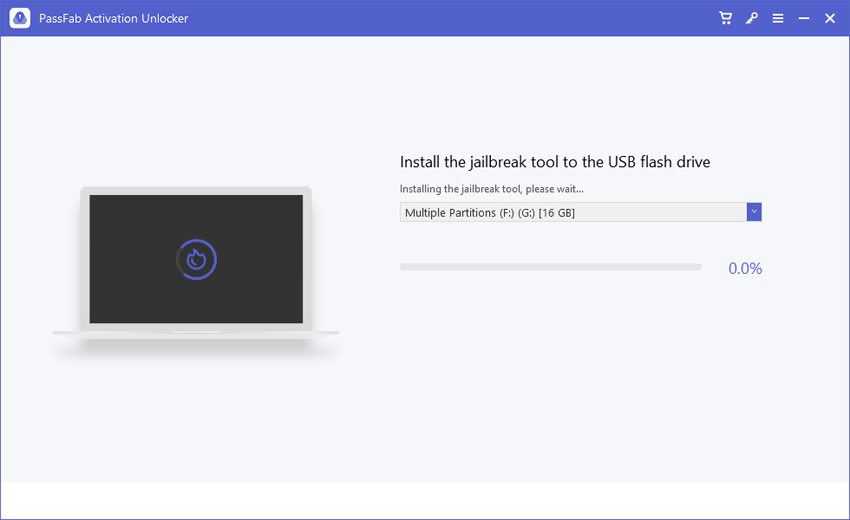
Activation Unlock will start burning the jailbreak environment to your USB. Wait for a moment.

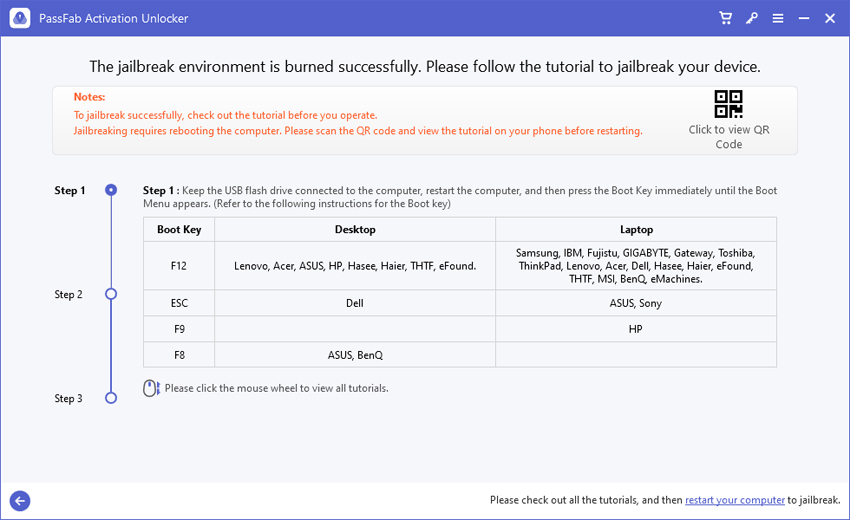
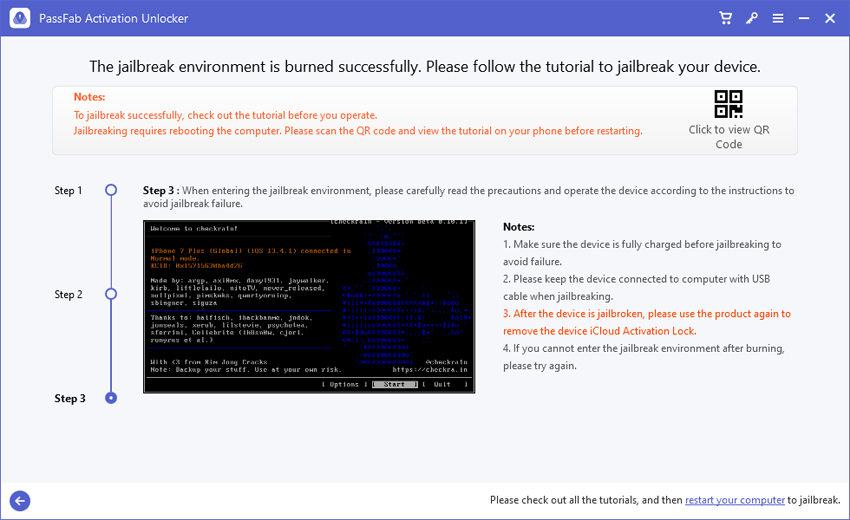
Once the jailbreak environment has been burnt sucessfully, check the tutorial on the interface to learn how to jailbreak your iDevice. Or you can scan the QR code and view it on another phone. Or simply check How to Jailbreak iDevice on Windows". Then follow the tutorial to jailbreak your device.


Scene 2. How to Jailbreak Your iDevice on Mac
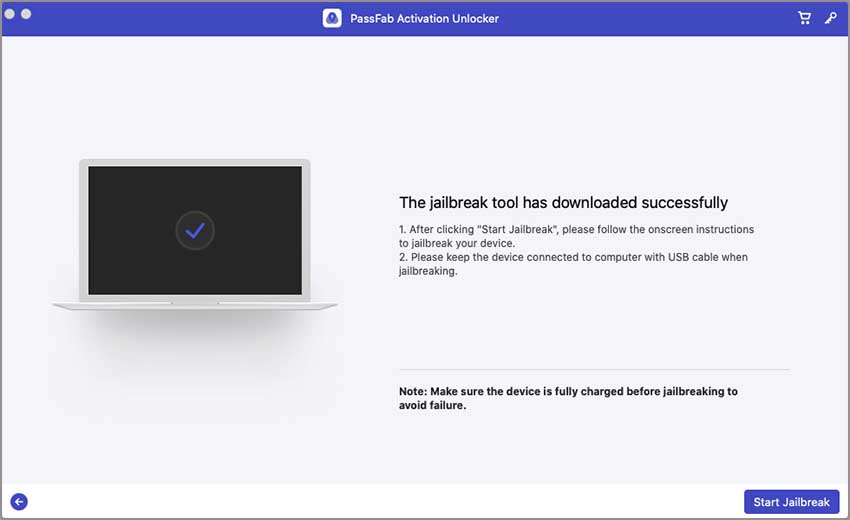
Once connected, the program will download the jailbreak tool for you. Wait for a minute.

After downloading jailbreak tool successfully, click Start Jailbreak, then follow the prompts by the jailbreak program to jailbreak your iDevice.

Step 3: Remove iCloud Activation Lock
After jailbreaking successfully, click Start, then the program will remove the iCloud activation lock in your device. Just wait for a while.

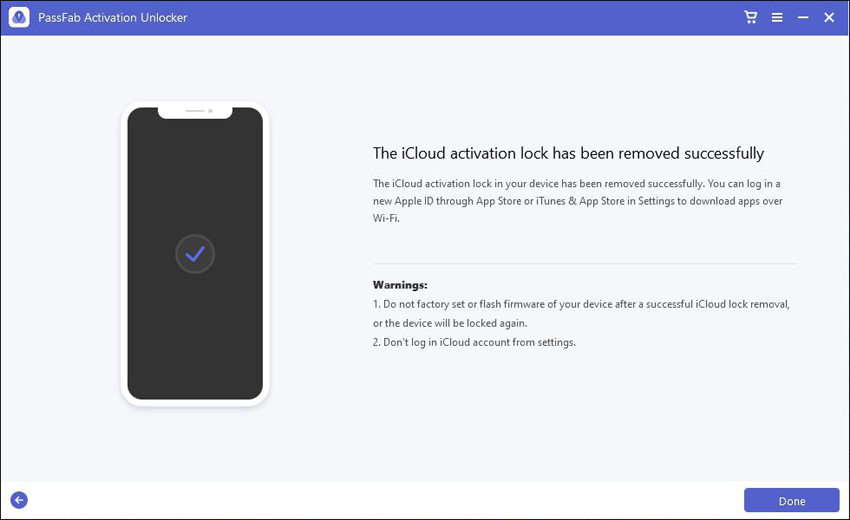
The iCloud activation lock has been removed successfully, then click Done.

Now you can start setting up your iDevice without the iCloud activation lock. Kindly note that you can sign in Apple ID from App Store or iTunes & App Store from Settings to download applications over WiFi.
Part 2: How to Unlock Apple ID
Forgot Apple ID password to sign out iCloud account and want to know how to turn off Find My iPhone without password? Apple ID is disabled? Here is how to unlock Apple ID without Apple ID password. After unlocking Apple ID, you can use your iDevice as normal.
Tips:
1. This feature only supports iOS 11.4 and below version.
2.If your device is from iOS 10.2-11.3, data will not be lost after unlocking Apple ID;if your device is below iOS 10.2, all data will be wiped out after unlocking Apple ID.
Step 1: Connect Your Device
Run PassFab Activation Unlock, select Unlock Apple ID.

Connect your iDevice to the computer with a USB cable.

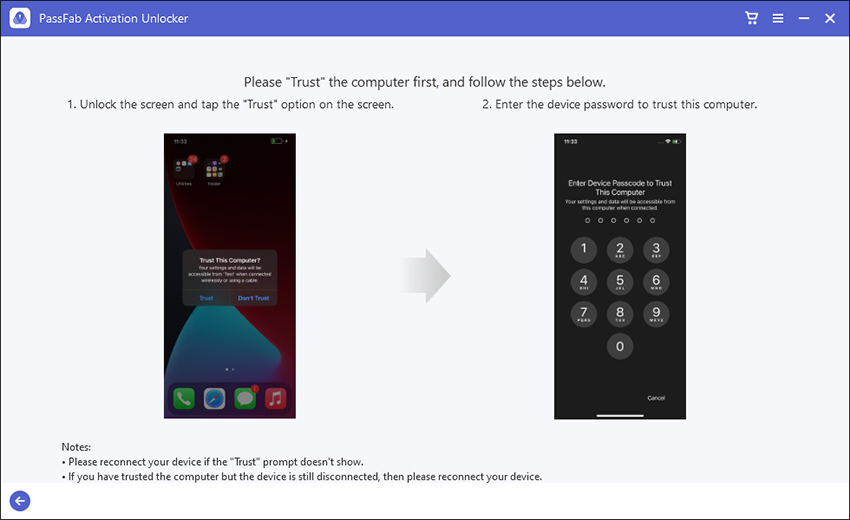
Before unlocking Apple ID, you should trust the computer so that your device could be recognized by PassFab Activation Unlock.

Step 2: Unlock Apple ID
Now, you can unlock Apple ID on your device, this tool only supports the iOS version below 11.4.
How to unlock Apple ID on iDevice with iOS version below 11.4
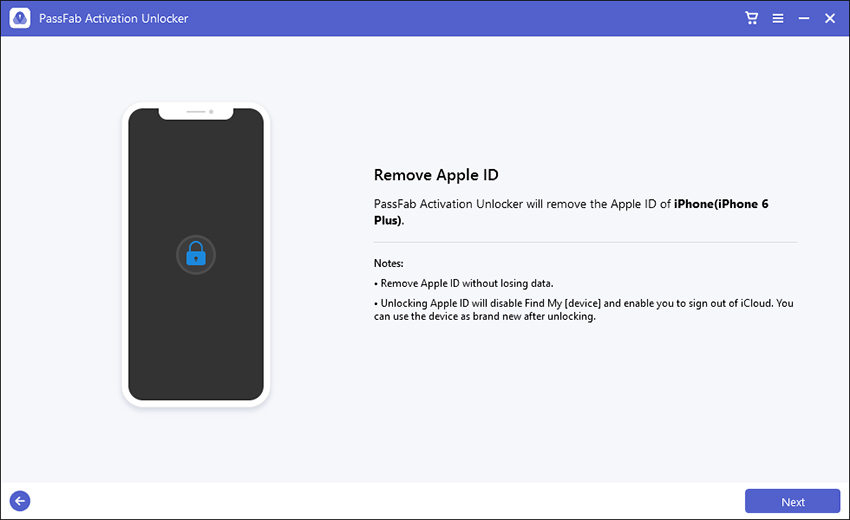
You will be led to Remove Apple ID, click Next.

Follow the instructions to reset all settings manually.

Then your Apple ID will be removed.

