This blog post will summarize the top features of PassFab Screen Recorder and a step-by-step guide on how can you use this multi-featured product.
How to Record Screen
-
Install and lanuch the PassFab Screen Recorder.
-
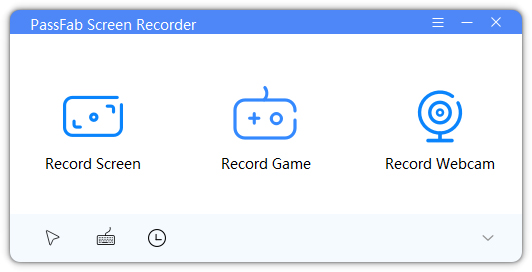
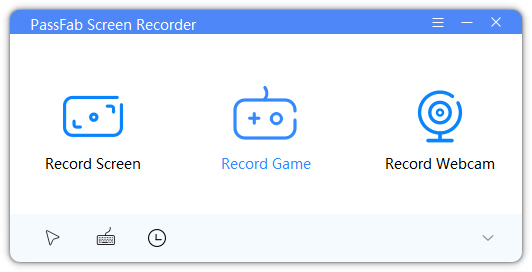
Open it and hit on Record Screen on the Home interface.

-
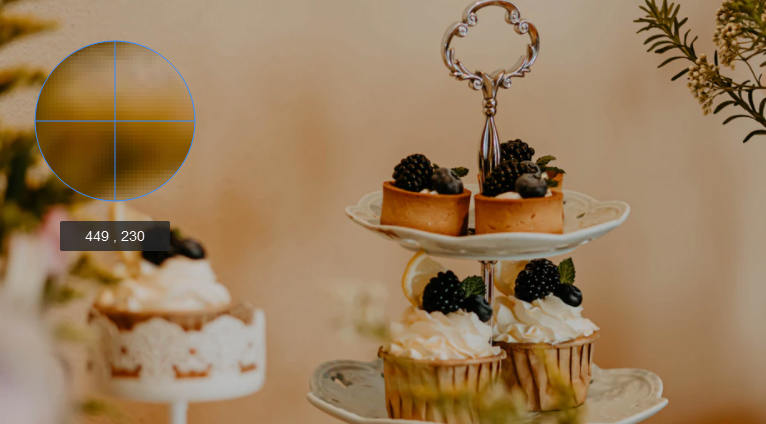
Easily align the rectangular box to select the screen area as you wish.

-
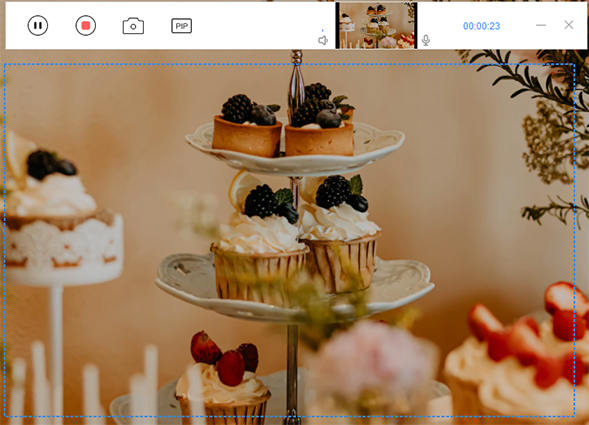
Hit the "Start" option at the top-left corner to start. The program will start recording your screen.

-
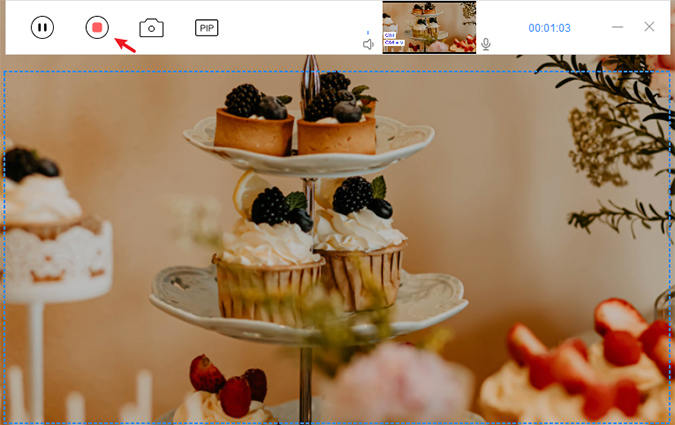
Then, you can click on the "Stop"(second from the left) and the program will save your video automatically.

-
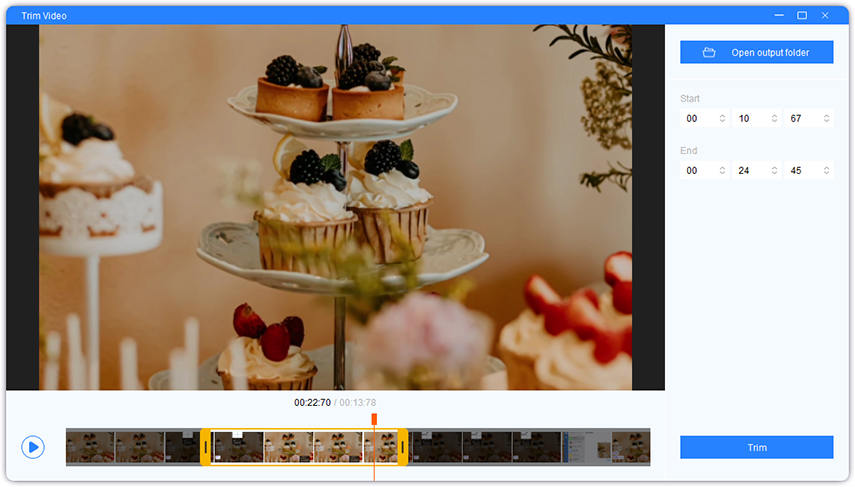
You can edit the time duration to trim the part you want. Hit on "Trim" to output the ultimate video. Click on "Open output folder" to view the recorded video.

If an abnormal error occurs during the installation process:
1: If the program is running, exit the program first (right-click the program logo in the tray to exit), and then reinstall it. 2: If the above method does not work, delete the corresponding PassFab Screen Recorder folder in the target directory and reinstall it.
The recorded screen shows a black screen?
Click to switch graphics card in the general settings on the homepage, and then it will be normal after restarting the program.
How to Record Webcam
-
Select the "Record Webccam" on the interface.

-
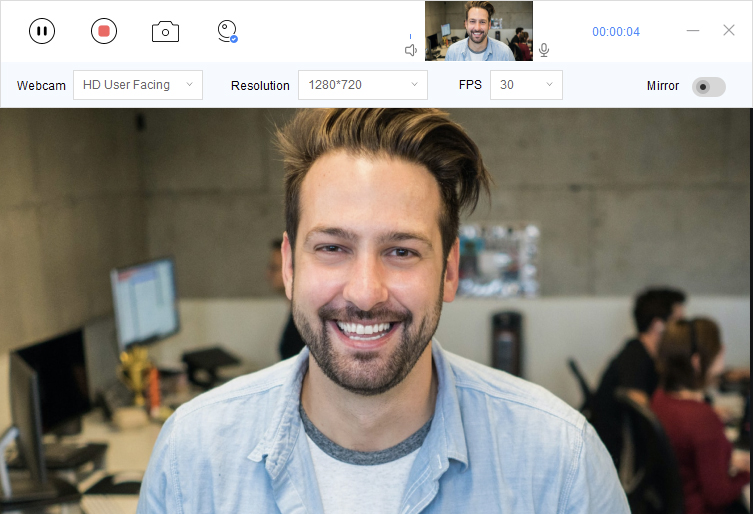
Click on the "Start" option at the top-left to begin recording.

-
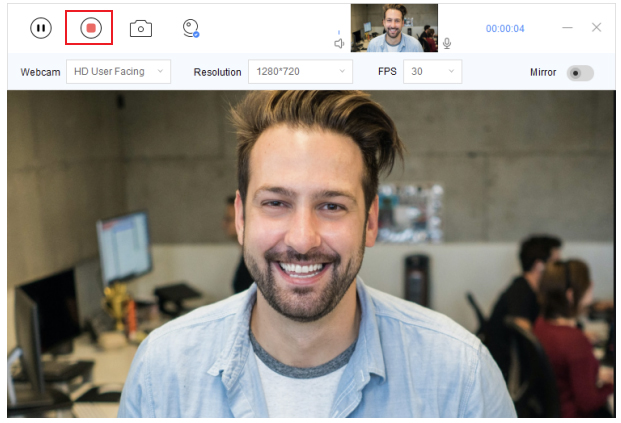
Click "Stop" button to pause the recording at any time and the recording will be saved at the same time.

-
You can refine the time duration of the recorded video.Once done, click "Trim" and click the "Open output folder" to open the file.

-
Tips:
Before you record webcam, you can set the webcam you want to record, set the resolution and the FPS you want to output, and set whether use "mirror video" option.

How to Record Screen and Webcam in Picture in Picture Mode
-
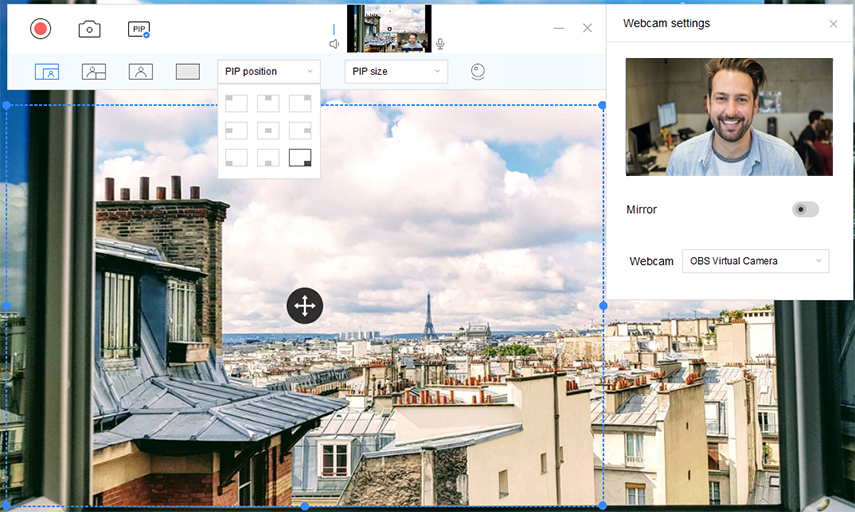
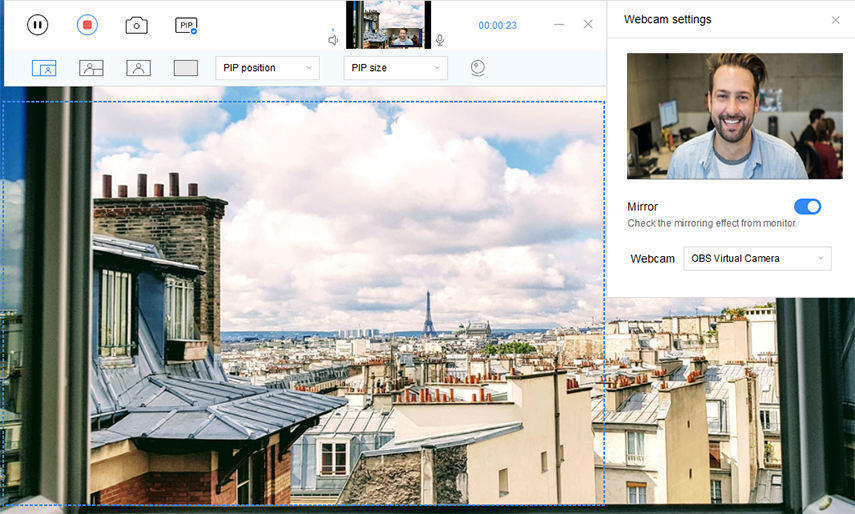
Click on "Record Screen", then find and press "PIP" icon to enter Picture inPicture recording mode.
Choose an option from the second navigation bar, i.e. "Screen + Webcam" or "Webcam + Screen." Adjust PIP Position and PIP Size as you want and use the "Webcam Settings" option to tweak with your webcam settings.

-
Hit the "Start" option. You can only see the screen you're recording. But, you’ll see both the Webcam and your Screen desktop being recorded in the Screen Monitoring.

-
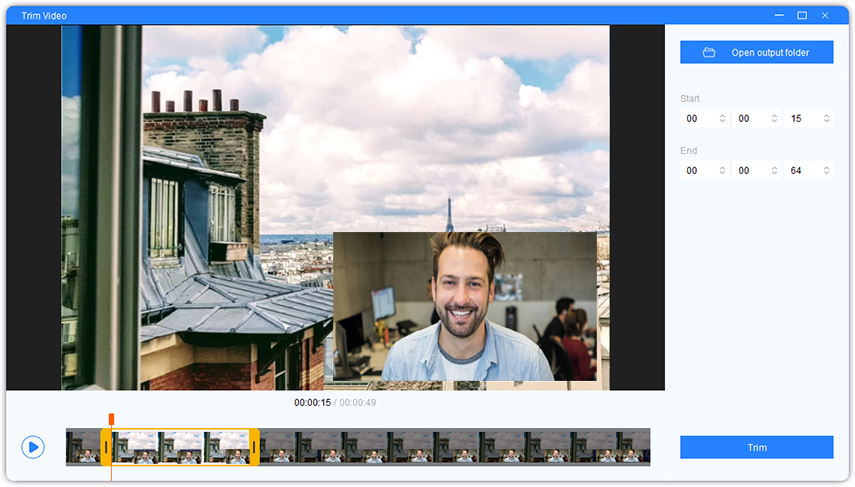
Click the "Stop" button to pause the PIP recording. You can set the time duration of the recorded video. Click "Trim" to save it and click "Open output folder" to view it.

How to Record System Audio
Option1: Record Audio (Win)
Turn on "Allow users to access your microphone" in the PC settings.
- Select Start> Settings>Privacy>Microphone. In Allow access to the microphone on this device, select Change and make sure that the microphone access of this device is turned on.
- Once you allow the microphone to access your applications, you can change the settings of each application. In the microphone settings, go to select which Microsoft apps can access your microphone, and then turn on the app you want to use with it. For desktop applications, make sure thatAllow desktop applications to access your microphoneis turned on.
Option2: Record Audio (Mac)
-
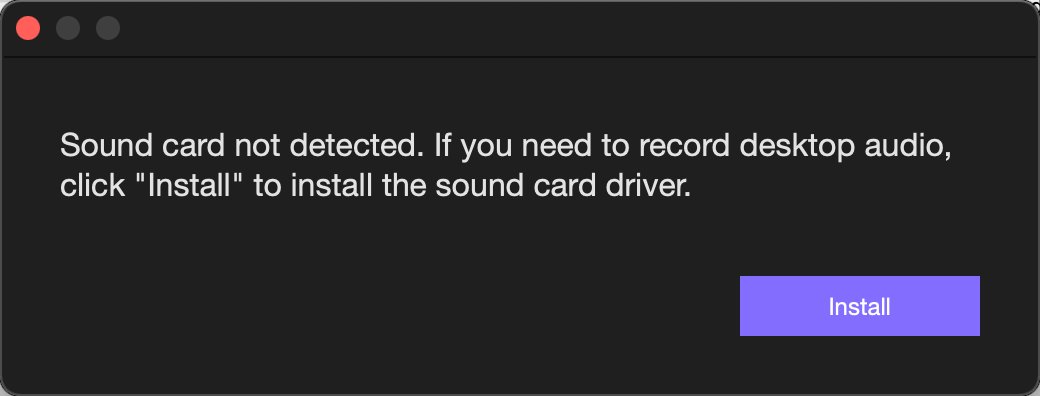
Click the start recording button in the recording menu, or click the speaker abnormal icon.

-
Click the “Install” button in the pop-up window to install the plug-in. After the installation is successful, the desktop audio can be recorded normally.

Tips:
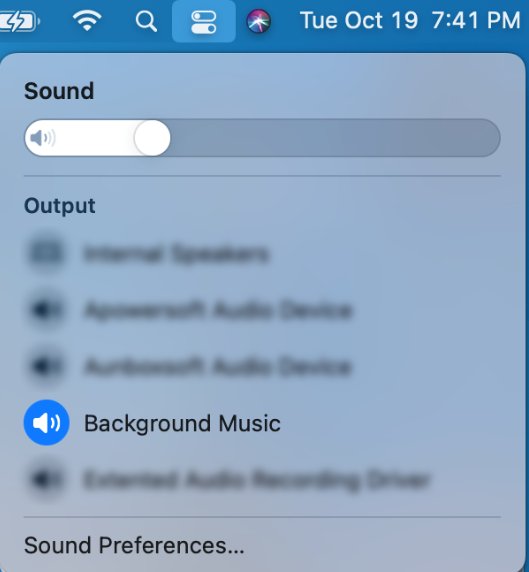
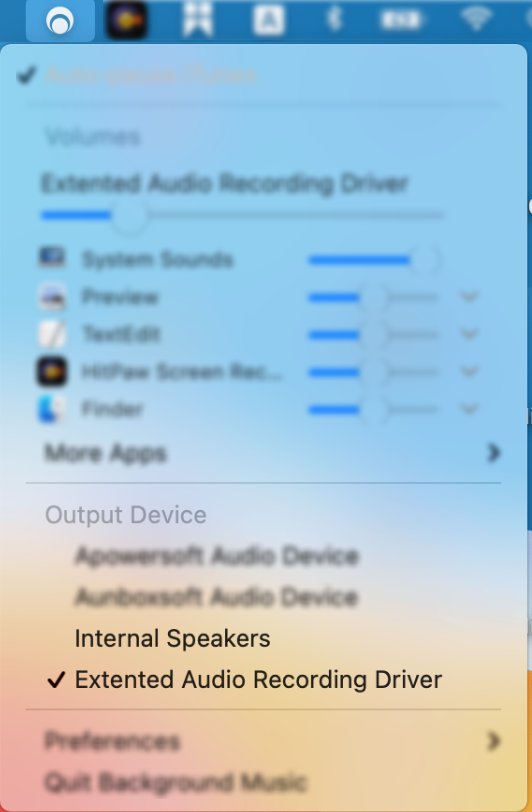
After the audio plug-in is successfully installed, there is a Background Music icon in the upper right corner of the desktop, which is normal. Please do not turn off this icon manually.

Option3: After installing the audio plug-in, there is still no desktop audio sound (Mac)
Please check the settings:
Make sure the audio output device is the Background music icon.

Find the Background music icon as shown in the upper right corner of the desktop. Click it to ensure that the output device below is a speaker.

Why is there no conference sound after installing the audio plug-in and recorded a video conference?
Please select the speaker as Background Music in the audio options of the video conference application.
How to Record Game
-
Click on "Record Game" to launch gaming recording mode.

-
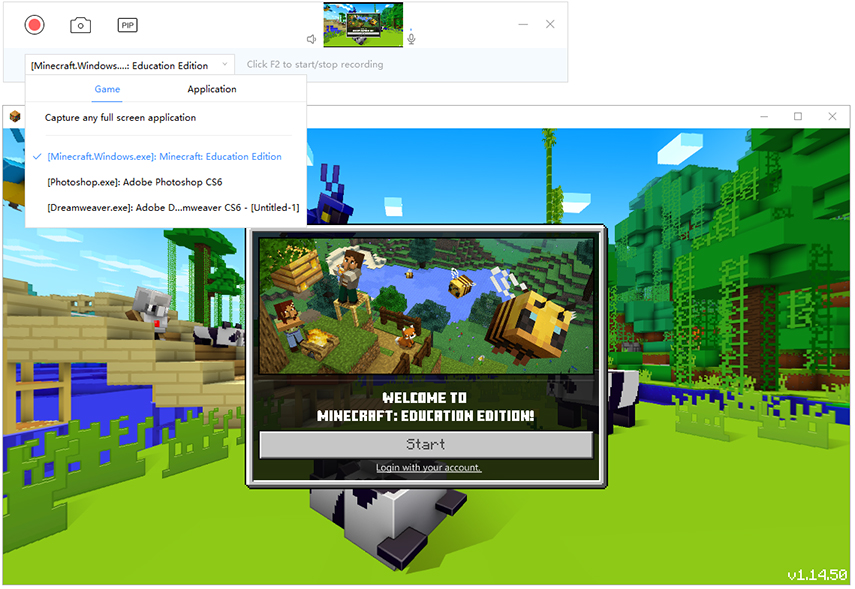
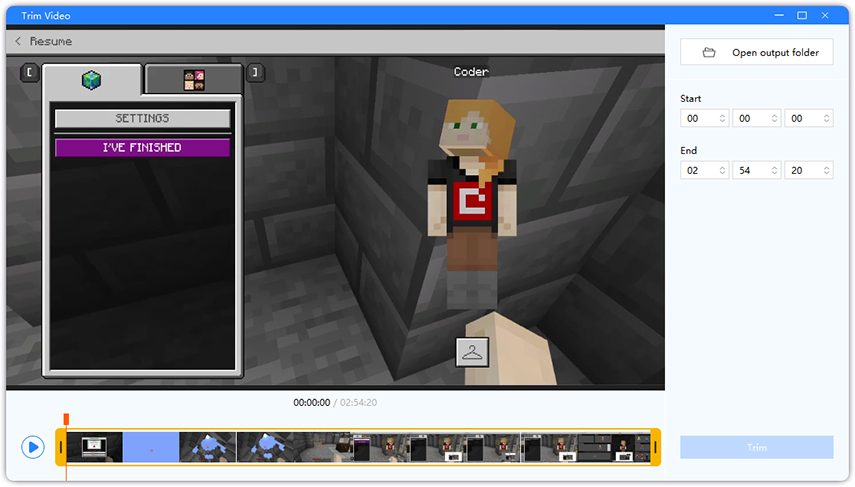
From the second bar, you can select the window of the game. Here, select the game: Minecraft: Education Edition.

-
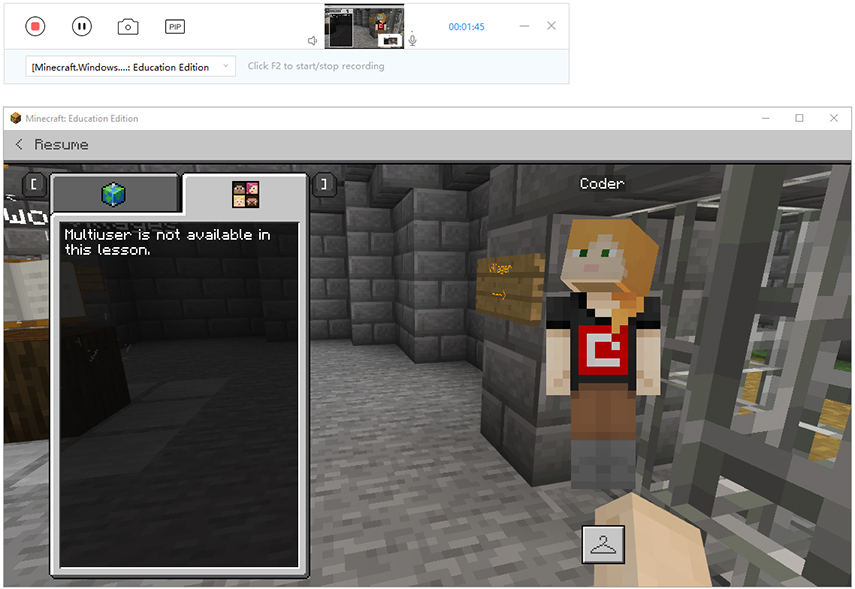
Click "Stop", and it will automatically saved the recorded video.

-
You can trim the part you don't want and keep the desired one. If don't want to use "Trim" feature, just click "Open output folder" to find your work.

