In this post, we will guide you how to set PassFab Screen Recorder. You can quickly search the tab you want on the side bar.

File Tab
In File tab, you can set the output location for the recorded video and the screenshot image.
Please note that all recorded videos and all screenshot images are displayed here, you can click to check one by one.
General Tab
How to Set Frame Rate
PassFab Screen Recorder offers 8 options, 10fps, 24fps, 29.97fps, 30fps, 48fps, 50fps, 59.94fps, 60fps.
To set it: Open PassFab Screen Recorder > Settings > General > Frame rate

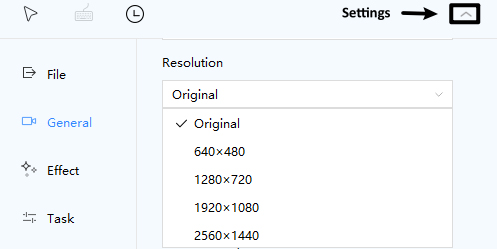
How to Change Resolustion
PassFab Screen Recorder offers popular resolutions, 640x480, 1280x720, 1920x1080, 2560x1440, 3840x2160.
Note: Pnly your display resolution is 4K can you see the 3840x2160 option.
To change it: Open PassFab Screen Recorder > Settings > General > Resolution
How to Select Output format
You have two choices, MP4 and MKV.
Note: Before screen recording, you should select what video format you want first, then start to record.
To select it: Open PassFab Screen Recorder > Settings > General >Output format

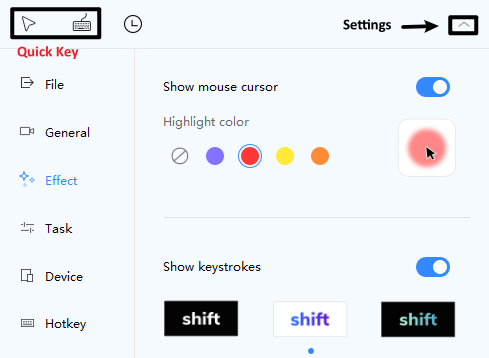
Effect Tab
- Show mouse cursor
- Show keystrokes
Task Tab
- Schedule Recording
- Segment recording
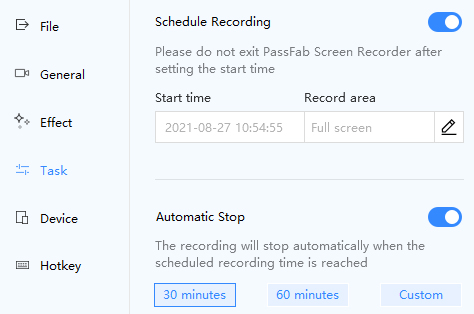
Schedule Recording
You can set up in advance a screen recording task.
Type the start time and customize an screen area.
Turn on Automatic Stop if you are not available.
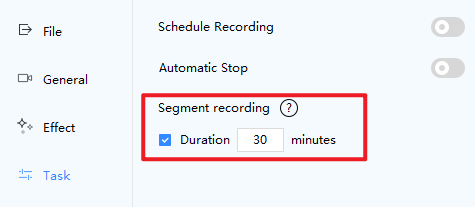
Segment recording
To avoid loss of recorded video, it can save the screen you are recording as a segment file when the minutes you set is reached.
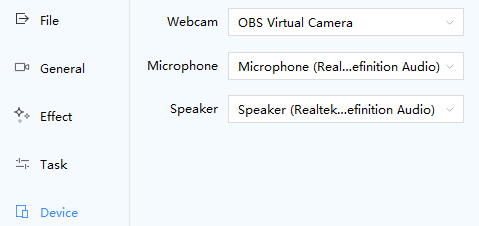
Device Tab
- Webcam
- Microphone
- Speaker
Before recording, select the device you want to use.

While recording, you can change the Webcam.
As we, you can turn on/off Microphone or Speaker.
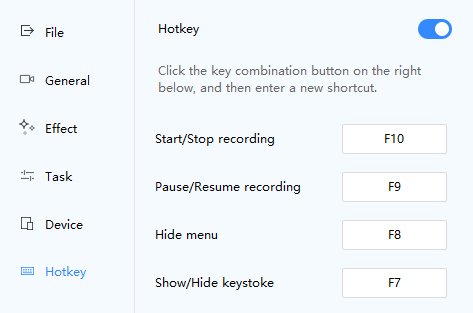
Hotkey Tab
Only 7 actions can be set to use hotkey.
You can use the hotkey by default, or set it by yourself. They are:
- Start/Stop recording
- Pause/Resume recording
- Hide menu
- Show/Hide keystrokes
-

