Sometimes you find yourself stuck with this issue “there was an error connecting to the Apple ID server.” It often occurs when you try to log in to the iTunes or iCloud and Apple store, which might seem not very pleasant for anyone. Usually, it means we are unable to connect to the Apple iCloud verification server.
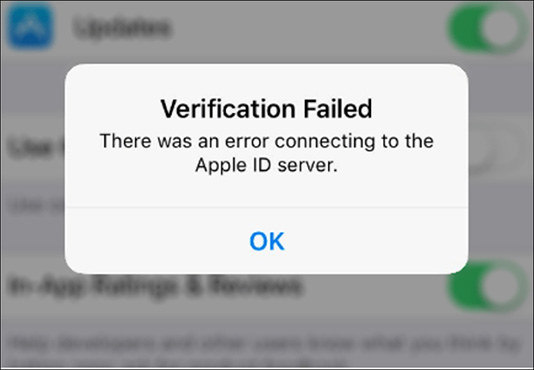
However, if you don’t resolve the issue, there’s no option to sign in to your Apple store, and it means you are unable to access several Apple services. That’s why we are providing worthwhile fixations to solve the issue of an error connecting to the Apple ID Server. So, let’s start.
Part 1: What Causes “Verification Failed There was an Error Connecting to the Apple ID Server"
Before going further, first, we have to know why verification failed there was an error connecting to the Apple ID server. Usually, it makes you think that you have put in wrong username or password. However, it’s not the main reason; incorrect username and password lead to this error.
Besides, updating to later iOS versions might leads to an error connecting to the apple id server when you try to sign-in and restore your back-up from iCloud. Usually, it occurs due to a poor internet connection, while the Apple server requires a strong and stable connection to sign in. Here below are 8 quick fixes.
Part 2: 8 Tips to Fix Error Connecting to the Apple ID Server
- 1. Check System Status of Apple
- 2. Check Network Connection
- 3. Get Verification Code from another device
- 4. Check for Updates
- 5. Restart Your Device
- 6. Set Date & Time Automatically
- 7. Disable VPN
- 8. Sign-out and Re-sign in
Before reading the following tips, here is the video guide for you:
1. Check System Status of Apple
At first, go into Apple’s system status page on your iPad or iPhone to check your system status before proceeding further. Sometimes Apple servers go down to cause “there was an error connecting to the Apple ID server.”
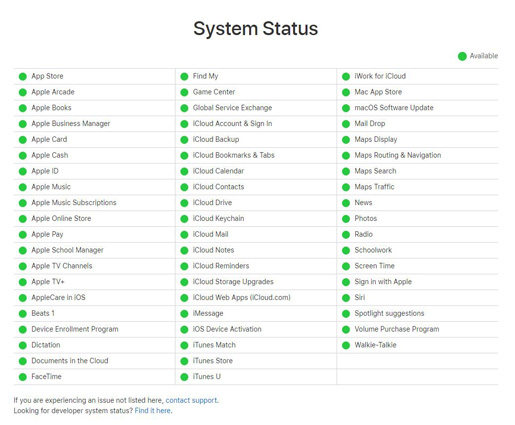
If you find an Apple ID or iCloud & sign-in with a yellow sign, it means the Apple server has an active issue. So, wait until they solve. But in the case of all green signs, you have to troubleshoot the issue because the problem is on your side. So, now follow the next step.
2. Check Network Connection
After an iOS update, Wi-Fi will turn off automatically. So, go into Setting> WIFI and turn ON. But in regular cases, you have first to toggle off the switch. Just wait for 20-30 seconds and turns the switch ON.
Besides, ensure a fast WIFI network because verification failed error connecting to Apple ID Server due to a poor internet connection. So, ensure a fast WIFI network or connect your iDevice to a cellular network.
3. Get Verification Code from another device
You have to generate a verification code by logging into another Apple device with the same Apple id and password because your iOS device cannot synchronize with your Apple ID. To generate verification code, go into Setting> Apple ID > Security & password and then tap on “Get verification code.”
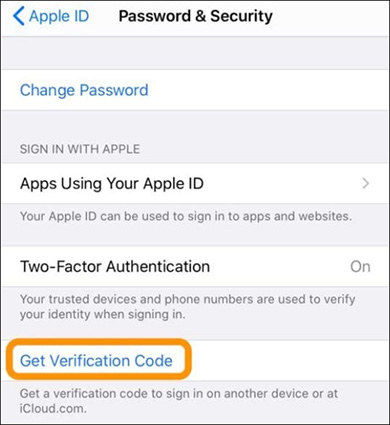
After generating the verification code, now put it into the error facing iOS device like iPhone or iPad touch. However, you can generate verification code on your Mac by just going into System preferences > Apple ID > Passwords & Security.
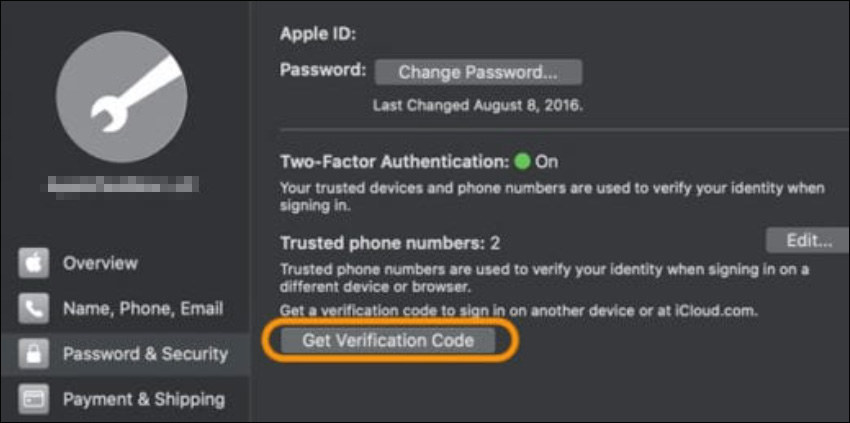
If you are using old macOS, then go into system > iCloud setting > Account details > Security. Make sure you are using one Apple ID account because multiple accounts create authentication problems, so log out from all accounts.
4. Check for Updates
Make sure your device is updated to the latest version, and if not, then go to iPhone’s Setting> General > Software Update and download & install the update.
5. Restart Your Device
You can get rid of some glitches by just restarting or force restarting your Apple device. It’s effortless, but on iPhone X, 11, and other face ID iOS devices, you have to press and hold the volume up and side button at the same time until the power off slider pop-up.
6. Set Date & Time Automatically
At times, in case of incorrect date and time, we cannot sync and are stuck on this “there was an error connecting to the apple id server.” So, make sure you set date & time Automatically, and if not, then go to setting > General > Date & time.
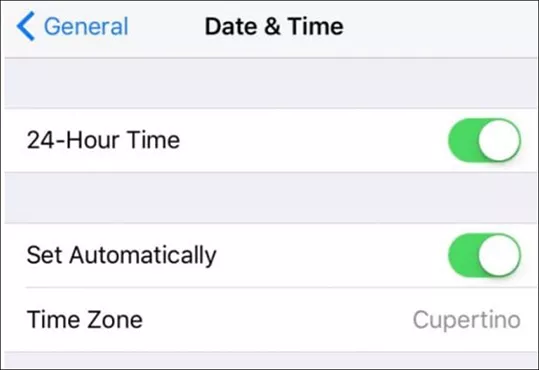
However, if it’s already set on Automatically, then toggle Off the settings. Wait for a while and then toggle ON. After doing that, now restart the device and log into your iCloud or iTunes store.
7. Disable VPN
If you are running a VPN like OpenDNS and Cisco umbrella, first disable VPN on your iOS; go to settings > General > VPN and disable it. For mac computer, Apple menu > System preferences > Network and disable it.
8. Sign-out and Re-sign in
It’s effortless.
For iPhone or iPod touch: Settings > iTunes & App store > Apple ID and sign out. After signing out, now again sign-in. But if you are unable to sign-out, you have to try PassFab iPhone Unlocker to unlock your Apple ID without any password.
At first, download & install PassFab software, and follow these steps;
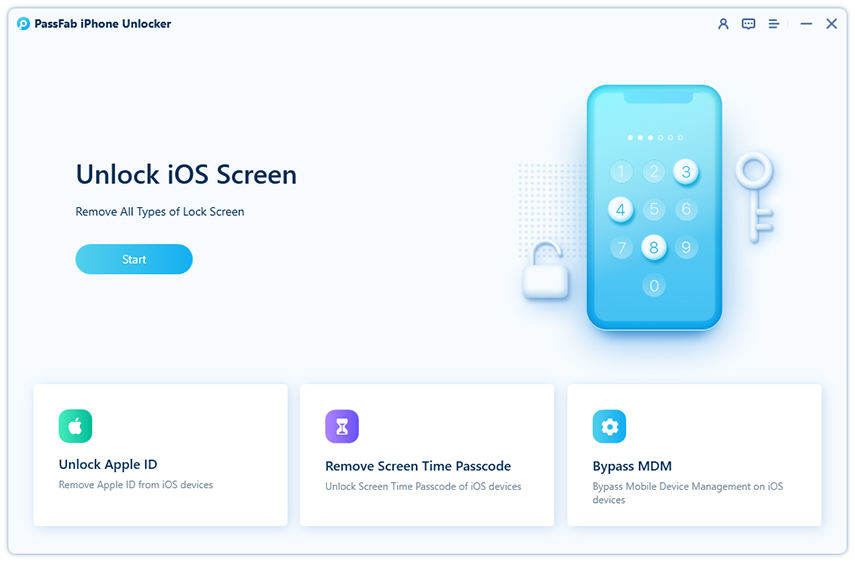
After installation, now launch it and choose Unlock Apple ID.

- After mode selection, now connect your iPhone to a laptop or PC.
- But you have to tap “trust” on your device and enter the device’s passcode to ensure your trust.
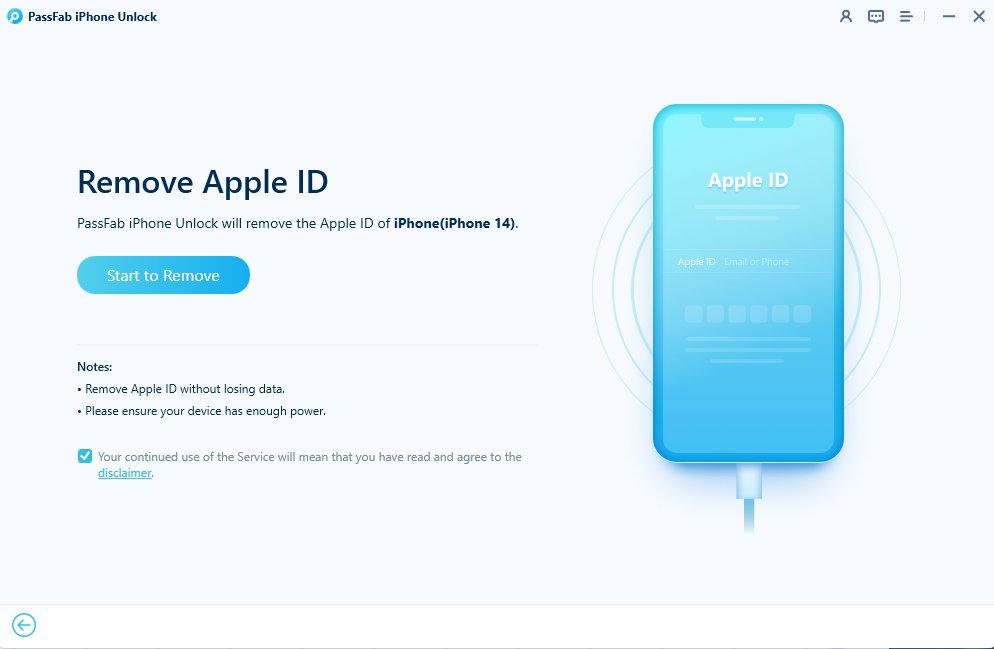
Now click on the "Start Remove" button to bypass Apple ID or iCloud account.

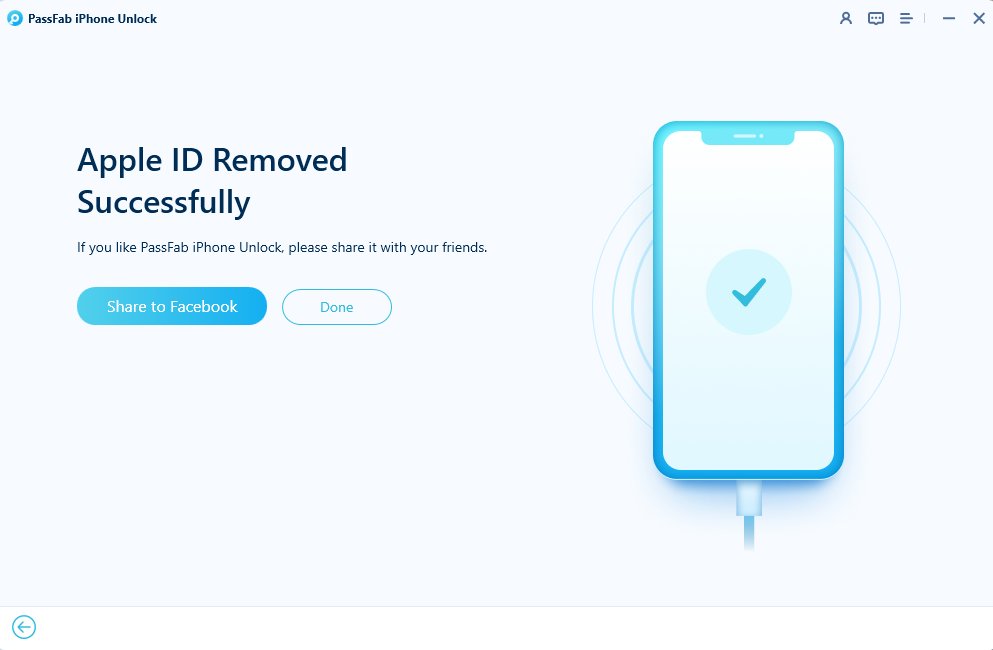
Follow the instructions to set up your device and congrats on your Apple ID successfully removed.

Read Also: How to Fix Your Apple ID Has Been Disabeld
FAQs: You May Want to Know about Error Connecting to Apple ID Server
Q.1 Why can I not connect to the Apple server?
Usually, it’s due to a poor internet connection, incorrect date and time, VPN, old update version, and Apple server issues that make you stick with this message there was an error connecting to the apple id server.
Q.2 Why does it say my Apple ID cannot be used?
There might be two reasons; 1_ Apple servers’ issues. 2_ You are not the original owner, or you have purchased a second-hand device. So, use PassFab iPhone Unlocker to get rid of this problem.
Q.3 How do you bypass the activation lock on your iPhone?
Launch PassFab Activation Unlocker and connect your iOS device. PassFab automatically downloads the jailbreak tool, and after downloading, insert a USB flash drive to burn the jailbreak environment. Later, click on start and perm to erase all in the flash drive. Afterward, click on remove to unlock iCloud Activation lock.
Conclusion
Ensure to follow above the steps to get rid of verification failed there was an error connecting to the apple id server. These 8 quick steps will surely help; however, if you will face sign-out, remove Apple ID or iCloud through PassFab iPhone Unlocker to eliminate the error connecting to the apple id server.

