Updating the BIOS on an MSI motherboard can enhance system stability, component efficiency, and compatibility with newer technologies. If you're wondering how to update BIOS MSI, it's important to proceed with caution to avoid any potential issues. This guide will provide you with step-by-step instructions on the MSI BIOS update download, updating MSI BIOS, and the precautions you should take to ensure a successful update BIOS MSI. Whether you're looking to solve specific problems or improve overall performance, an MSI motherboard BIOS update can be beneficial.

Part 1: Should You Update MSI BIOS?
MSI is renowned for its robust motherboard designs, regularly releasing BIOS updates to enhance their performance. An MSI BIOS update can significantly boost system stability, increase compatibility with new technologies, and resolve prevalent bugs, enticing many users to perform an update on MSI BIOS. Despite the benefits, concerns about the risks involved in updating MSI BIOS are common, especially among beginners.
The decision to update should not be taken lightly due to the inherent risks of flashing firmware. When executed correctly, however, the MSI motherboard BIOS update can provide considerable advantages. To ensure a safe MSI BIOS update, detailed guidelines on the necessary precautions and steps will be provided, allowing even the most novice users to perform an update BIOS MSI confidently.
Part 2: What You Should Do Before You Update MSI BIOS?
Before you start the MSI BIOS update, it's vital to ensure that your system is ready and that you have all the necessary tools at hand.
- Check the Current BIOS Version
To accurately perform an MSI BIOS update download, first verify your motherboard's model and BIOS version number. This information is typically found on the motherboard itself or the packaging. Knowing your current BIOS version helps ensure that you select the correct update files from the MSI website. -
Format a USB Flash Drive
Formatting a USB flash drive is a straightforward but crucial step in preparing for a BIOS update- Insert the USB flash drive into your computer.
- Open File Explorer (Win + E), navigate to 'This PC', right-click on your USB drive, and select 'Format'.
- Choose either the FAT32 or NTFS file system, then click 'Start' to format the drive.
Before proceeding with an MSI BIOS update, back up your operating system and files to avoid data loss, and use an external storage device to secure all important data and system configurations.
PassFab 4EasyPartition is a versatile tool designed for optimal disk management and performance enhancement. This tool allows you to clone a disk, which is useful for upgrading your storage or creating a backup of your system. Here are a few key features of PassFab 4EasyPartition that make it a valuable tool for disk management:

PassFab 4EasyPartition
- Disk Cloning: This allows you to create a complete 1
- Partition Management: Easily resize, move, split, and merge partitions without data loss. This feature helps optimise disk space usage and organise data more effectively.
- Disk Conversion: Convert between disk types, such as converting MBR to GPT without losing any data
- System Migration: Move your operating system to a new HDD or SSD while ensuring the system remains bootable and efficient. This is particularly useful for users upgrading their drives to faster SSDs.
PassFab 4WinKey has Recommended by many medias, like macworld, makeuseof, appleinsider, etc.


Below are the detailed steps on how to use PassFab 4EasyPartition for backing up your OS & files:
-
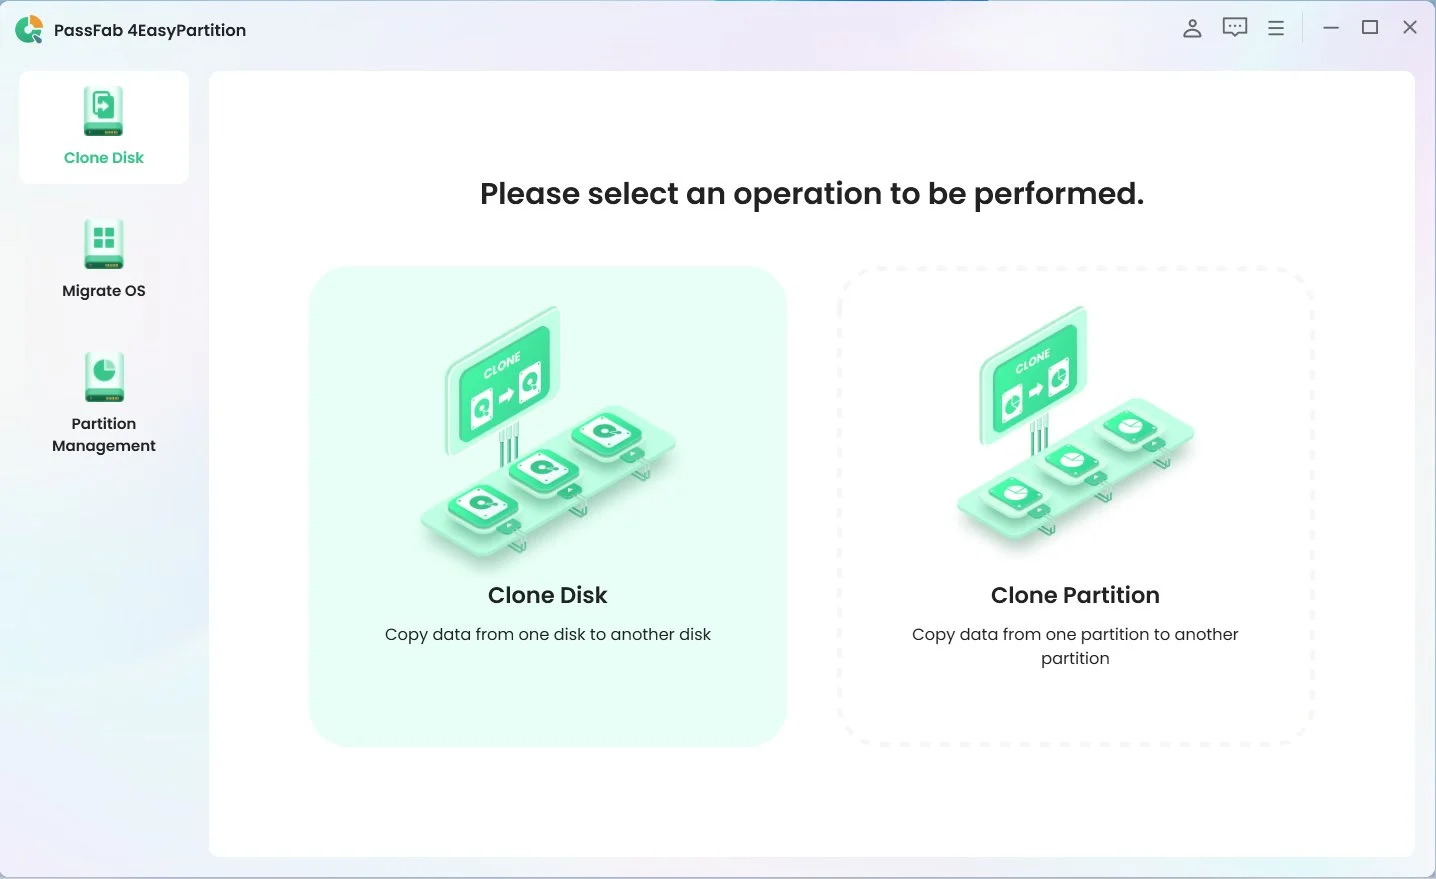
Download and open PassFab 4EasyPartition on your computer, then select "Clone Disk" from the menu to begin.
Google Play*An OTG cable is required
-
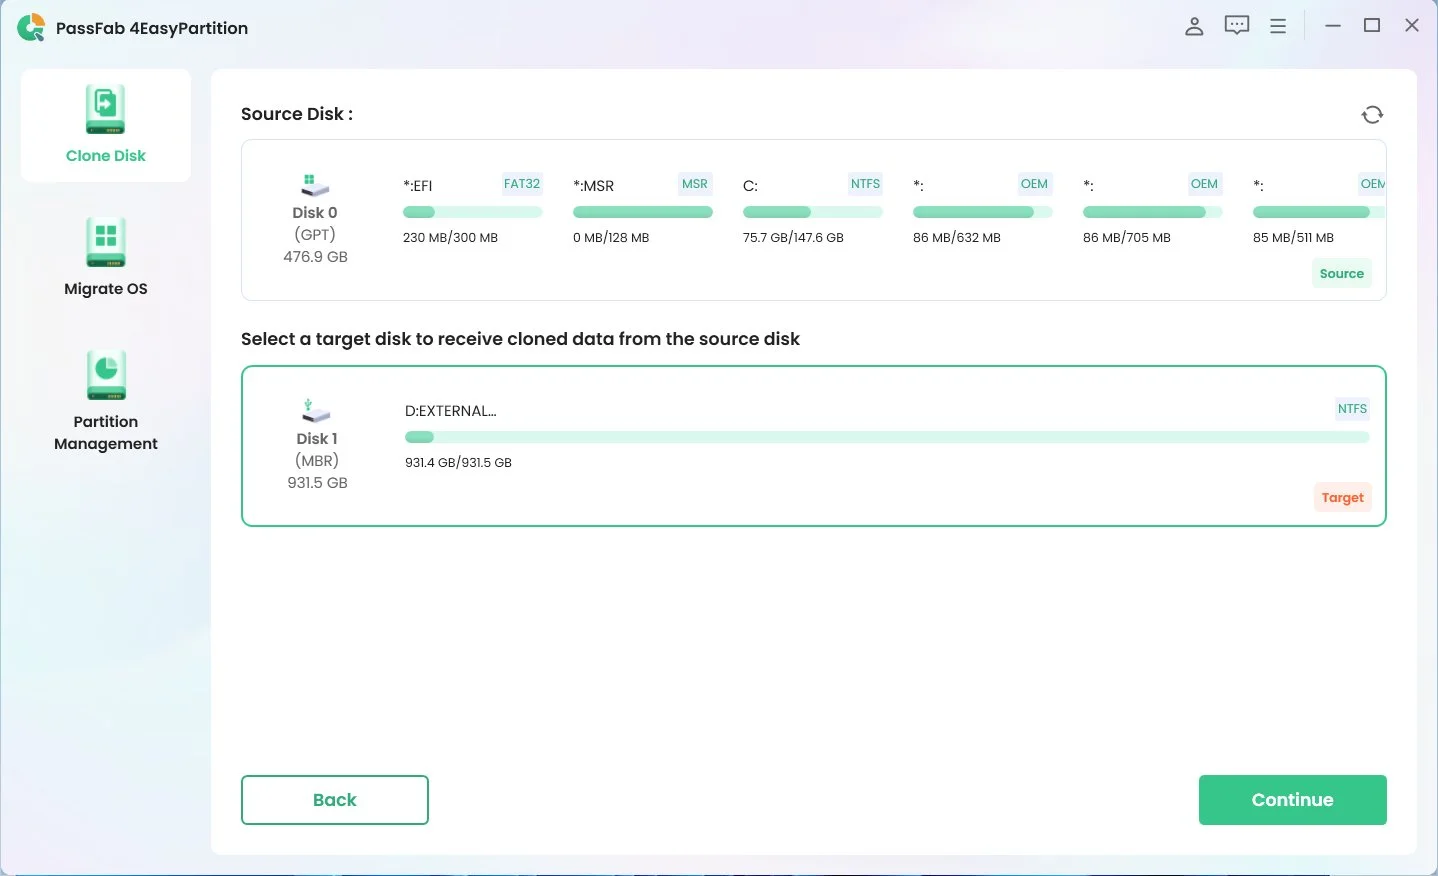
Choose the target disk to which you want to clone your data. Proceed by clicking "Continue."
-
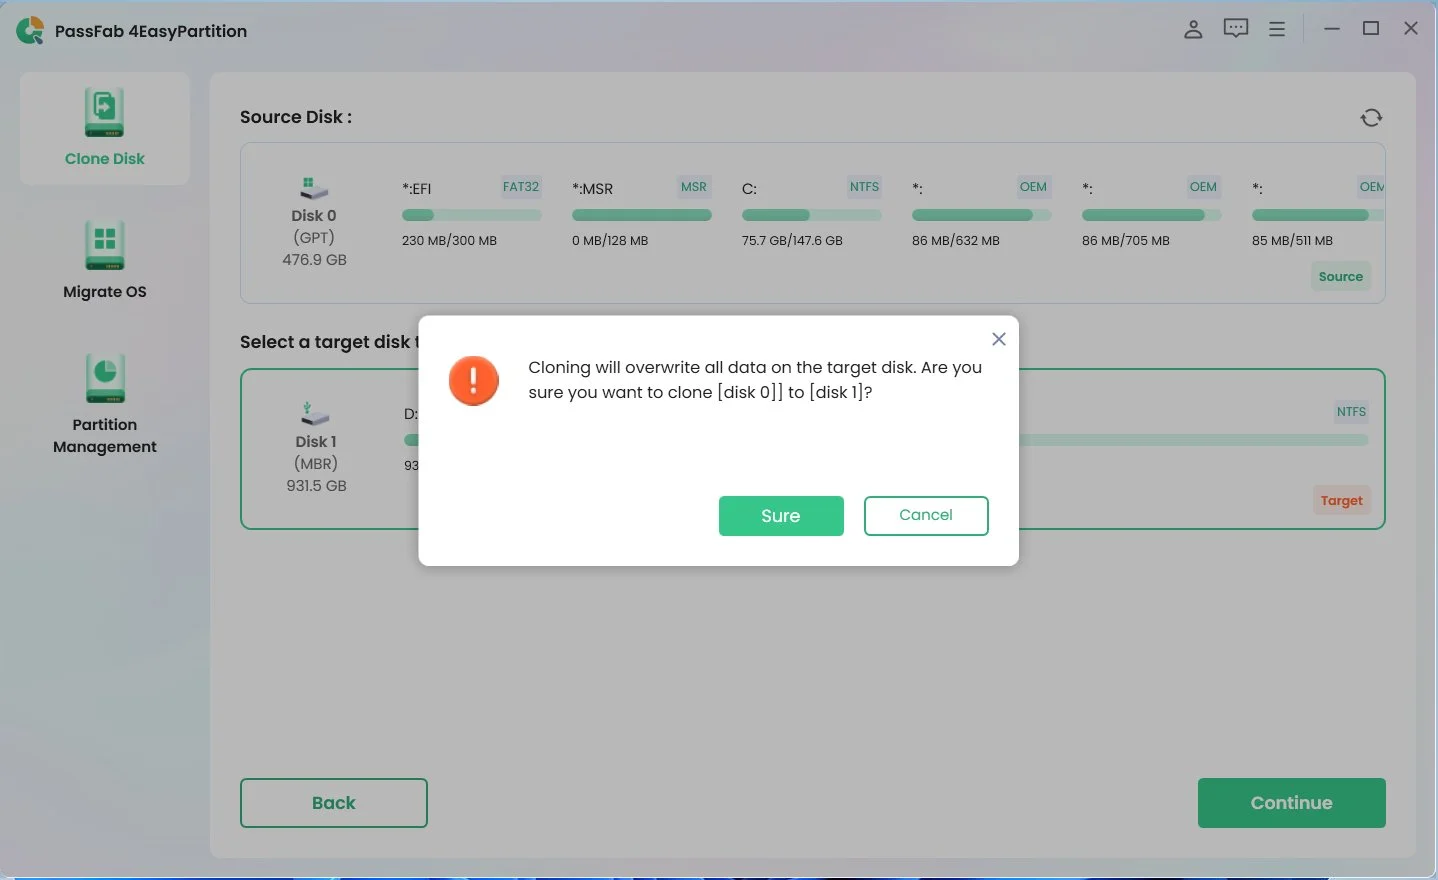
A warning popup may appear to inform you of any risks associated with the cloning process. Click "Sure" to acknowledge and continue.
-
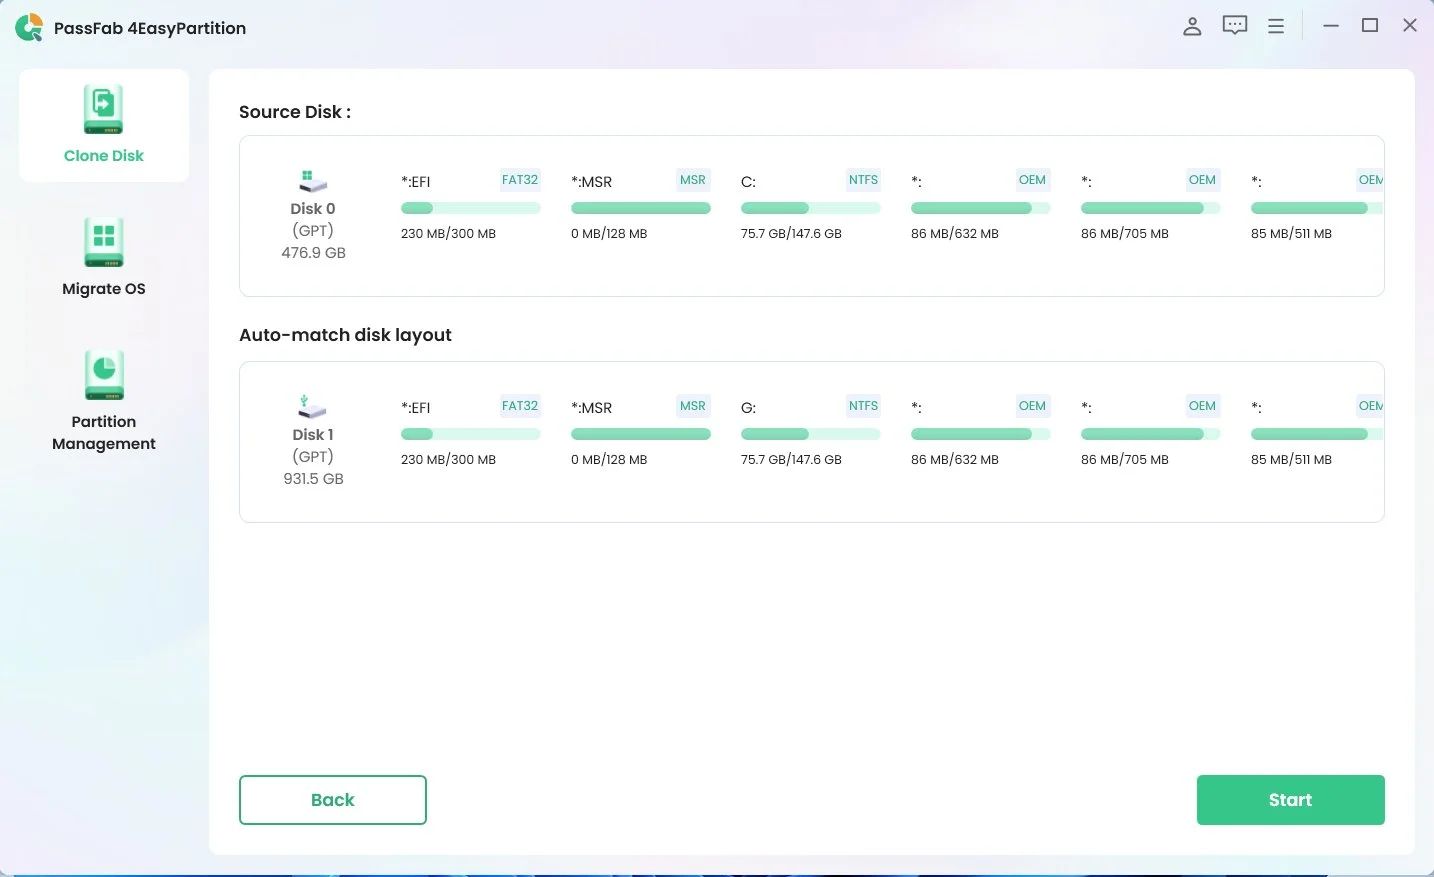
In the next screen, you will see details of both the source and target disks. Ensure all details are correct, and then click “Start” to initiate the disk cloning process.
-
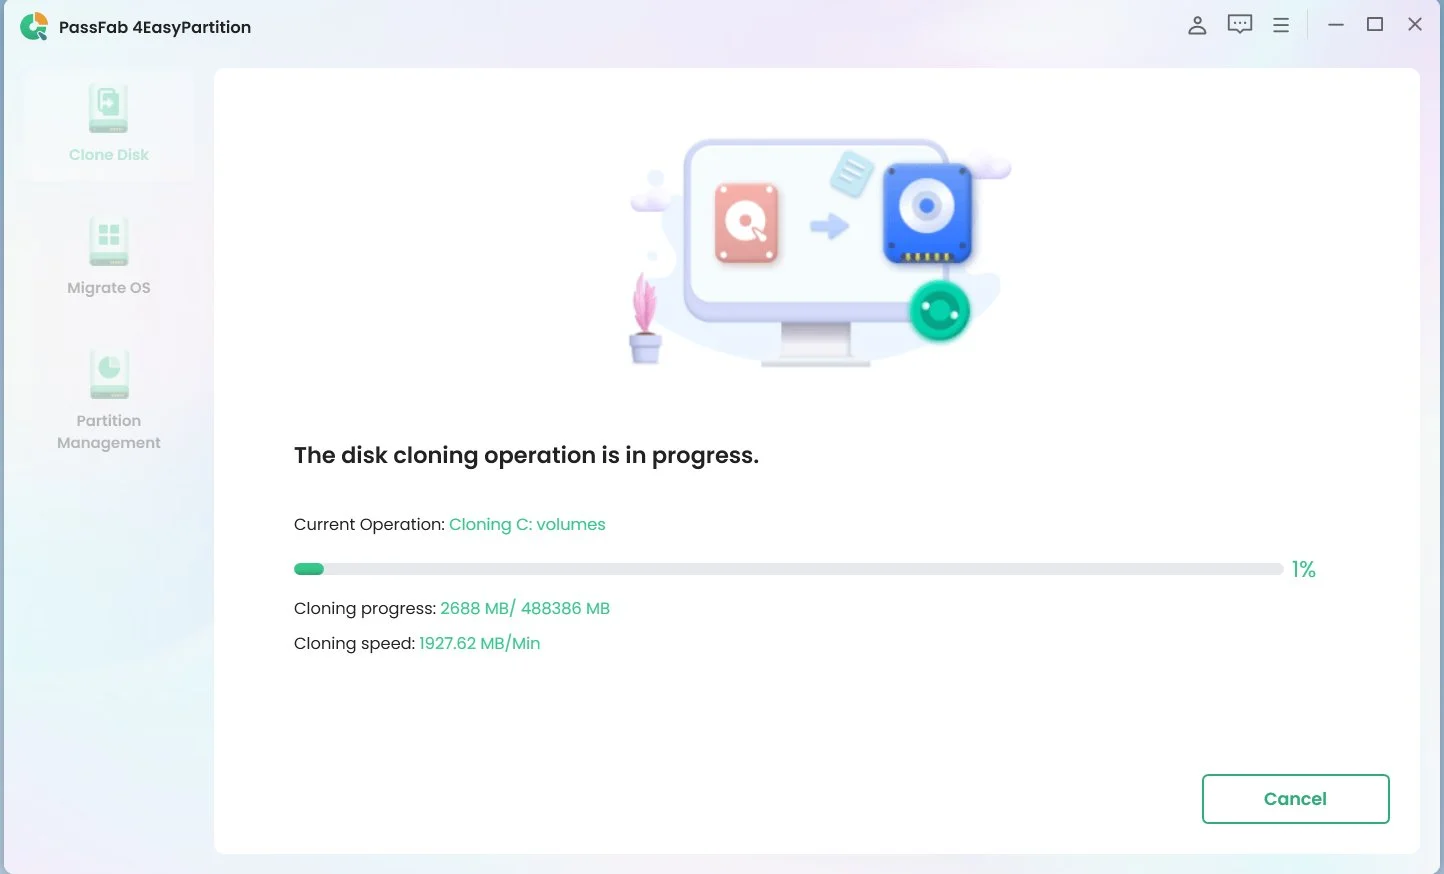
The cloning process will now begin. Please wait until it is complete.
Part 3: How to Update BIOS MSI?
Updating the BIOS on your MSI motherboard is a crucial step towards enhancing system stability, performance, and compatibility with newer hardware and software. This section will guide you through the detailed steps necessary to update your MSI BIOS using a USB drive successfully. Follow these instructions carefully to ensure a smooth update process and to minimise any potential risks.
1. Create a Bootable USB Drive
To update your MSI BIOS smoothly, you'll first need to create bootable BIOS media using a USB flash drive. Here's how to prepare your USB drive:
- Visit the MSI official website and enter the model number of your MSI motherboard in the search bar, then press Enter. For example, if you are using the MSI B350 Tomahawk, input this model into the search.
- Click on the appropriate model from the search results and proceed to the download section.
- Locate the BIOS file you need, click on the download icon, and save the file to your desktop.
- Right-click the downloaded BIOS update file and select "Extract All." Choose the formatted USB drive as the destination for the extracted files.
- Ensure all files are copied onto the USB drive, which now serves as your BIOS bootable USB drive. This drive is now ready to use for the BIOS update.
2. Update MSI BIOS
Once your bootable USB drive is prepared, you can proceed to update the BIOS:
- Insert the bootable USB drive into your computer.
- Restart your computer and continuously press the Delete key to enter the BIOS setup menu.
- Within the BIOS setup, navigate to the M-FLASH section, which is the dedicated area for updating BIOS. Select it and agree to enter the M-Flash interface.
- Select the USB drive that contains the BIOS update files. Then, choose the specific BIOS file from the list.
- Confirm your selection and start the BIOS update process. The system will update the BIOS automatically and will reboot upon completion.
Following these steps will help ensure that your MSI BIOS update is completed successfully and without issues. After the update, it's a good idea to verify the new BIOS version by re-entering the BIOS setup to check that the update has been applied correctly.
Final Thoughts
Completing an MSI BIOS update can lead to notable improvements in system performance, stability, and compatibility with modern hardware and software. Such updates often refine functionalities and patch vulnerabilities, making your system more robust against various types of failures and enhancing overall operational efficiency.
It is crucial to approach the BIOS update process with diligence. Always start by backing up all critical data to safeguard against any unforeseen errors during the update process that might lead to data loss. Utilising reliable tools like PassFab 4EasyPartition can facilitate effective disk management and ensure that your data remains secure and organised.
Adhering to these guidelines will not only enhance your MSI motherboard's performance but also extend its lifespan and compatibility with evolving technological standards. Remember, keeping your BIOS updated is an essential part of maintaining an efficient and secure computing environment.
*An OTG cable is required